Build your first Custom Agent
Build Custom Agents that automate recurring workflows for your entire team. One person sets it up, everyone benefits from the work that happens automatically.

Manual, repetitive work eats up hours every week across teams. Custom Agents change that by running automatically on schedules and triggers instead of waiting for you to prompt them. They also work with the docs and databases you already have.
Custom Agents can answer Slack questions, create weekly reports, and route tasks automatically. Customize them to exactly what your team needs—all it takes is for one person to create the agent, and it becomes a shared resource everyone can rely on.
In this guide, you’ll learn how to:
Identify the workflows that are best suited for automation
Write clear, effective instructions for your Custom Agent
Choose the right triggers and schedules
Configure the appropriate tools and access
Test, iterate, and troubleshoot with confidence
Save, share, and manage your Custom Agent across your team
When creating your Custom Agent, look for work that's repetitive, rule-based, and time-consuming. It could be someone asking the same questions in Slack, having to manually update weekly reports, or triaging the same types of requests.
You could create:
Q&A Agent: Ask the agent to auto-answer questions in your
#product-askchannel using your existing docs as the knowledge base.Task routing Agent: Capture incoming product requests and route them automatically by auto-tagging and assigning new bug reports based on severity and component.
Reporting Agent: Create weekly team reports retrieved from tasks, Slack threads, and project databases.
Ask yourself: If I set this up once, would my whole team benefit? Or would it save me significant time each week? If yes, you've found a good candidate for a Custom Agent.

Keep each agent focused on one workflow
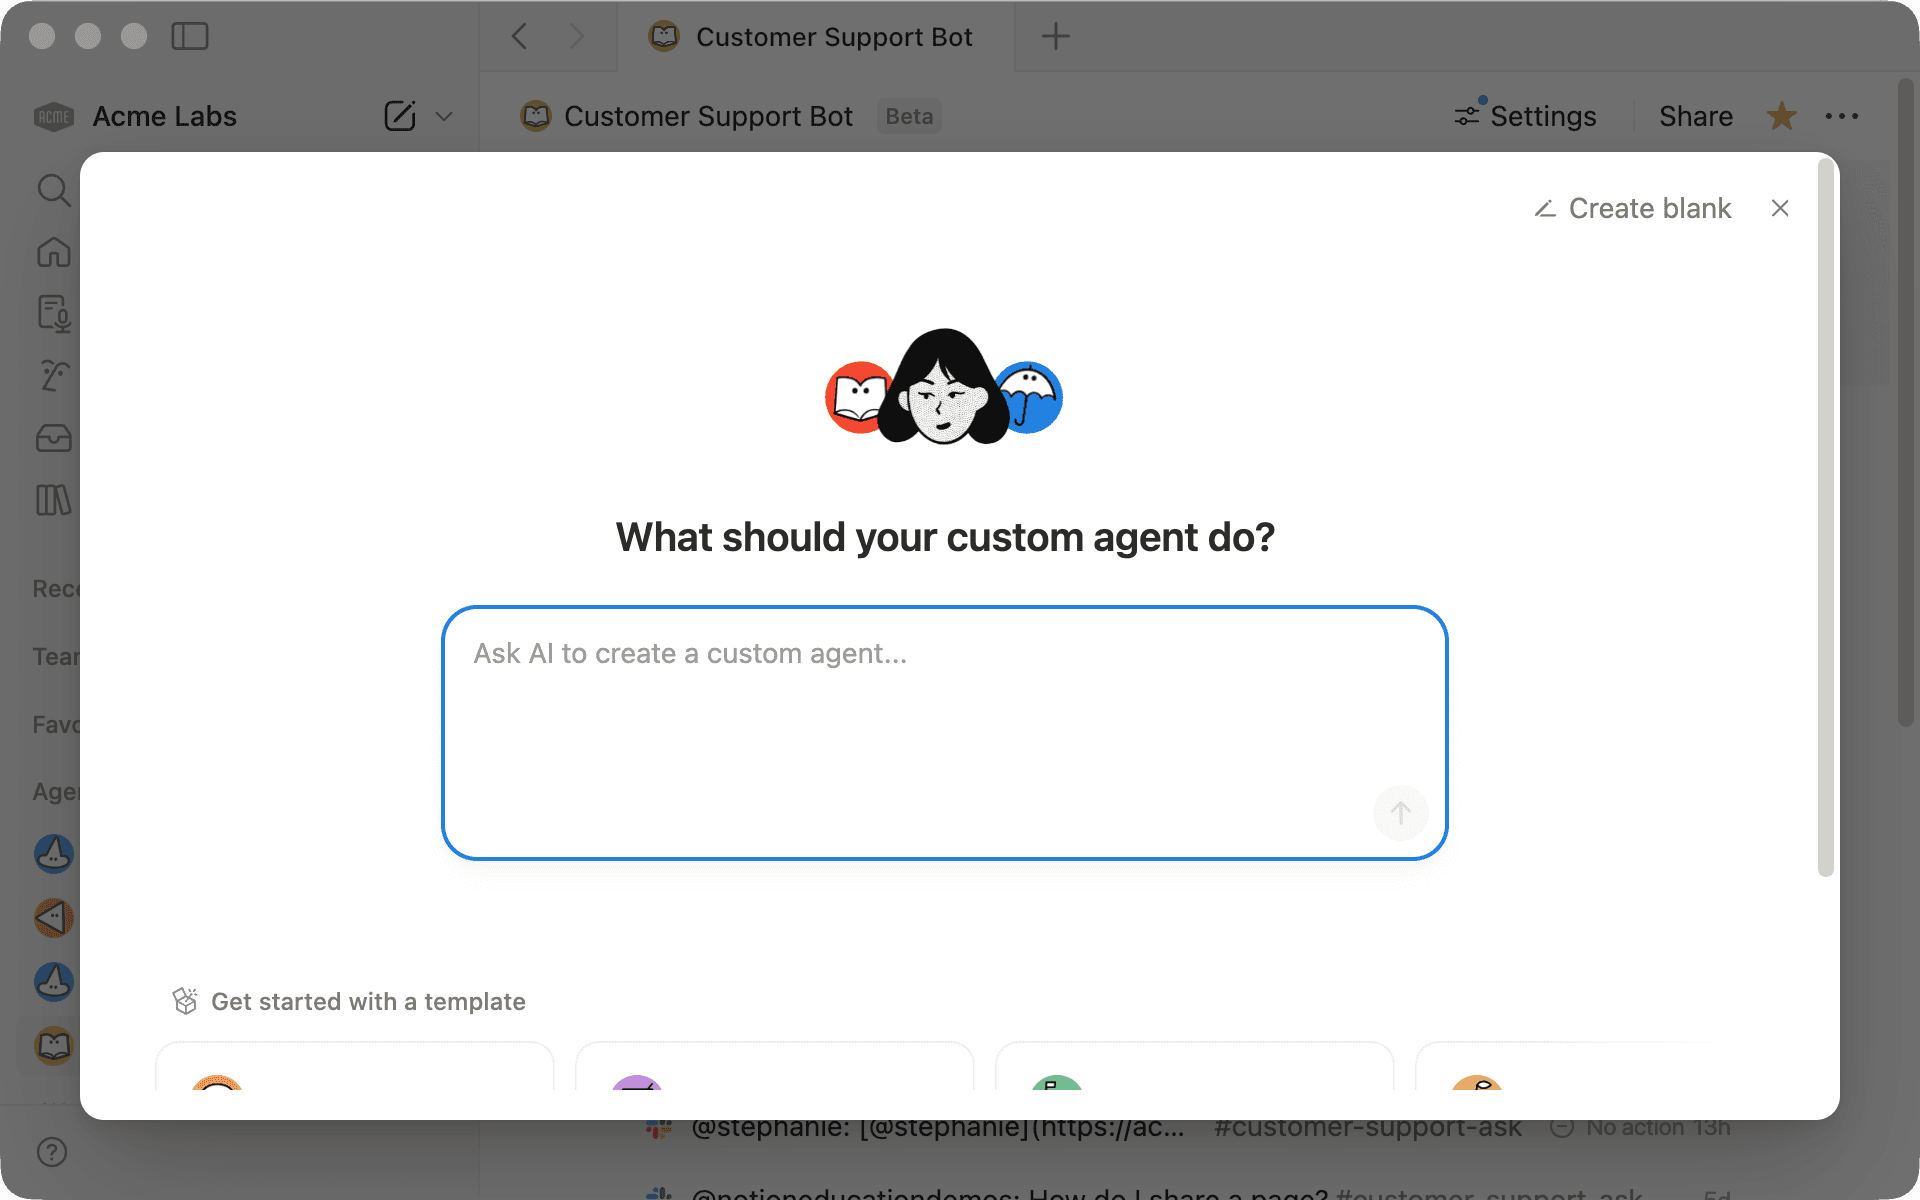
To get started, head to the Agents section in your workspace sidebar and click + New agent.
Start chatting in the text box and tell your Custom Agent what you want it to do using plain, natural language. You can also start with a template option
Be clear on your goals and outcomes, but you don't need to spell out every step:
Be specific about context: Define when and where your Custom Agent should act. For example, “When someone asks about pricing in our #product-ask channel, pull the answer from our pricing FAQ page,” instead of “when someone asks questions.”
Use @mentions: Point directly to pages, databases, or people rather than referring vaguely to “my knowledge base.”
Define format and routing upfront: Clarify what should happen in different scenarios and where responses should go. For example, “If the question is about billing, send it to the finance team. If it’s about product features, answer from @Product Docs.”
Give examples: Show what a strong response looks like (and what to avoid) so the agent can match your preferred style.
Set clear boundaries: Be explicit about what the agent should and shouldn’t do. For example, “Update the existing weekly report page instead of creating new ones,” or “Only respond in #support, not #general.”
Here's how you might build a Q&A Agent: "Create a Q&A agent for #product-ask that answers questions using @Help Center and @Product FAQ."
You'll see the agent's configuration updating in real time, including the instructions and suggested pages and tools. This is just the start of the conversation so review and adjust as needed.
Triggers tell your agent when to run. As you chat with your Custom Agent, choose specific triggers based on what you're building.
Event-driven triggers run when something happens:
@mention in Notion or Slack
New page added to a database
Message posted in a specific Slack channel
For a Q&A agent, use an event-driven trigger—like when someone @mentions the agent in a connected Slack channel. You might set it to respond only when @mentioned in your #product-ask channel, so it only jumps in when explicitly asked.
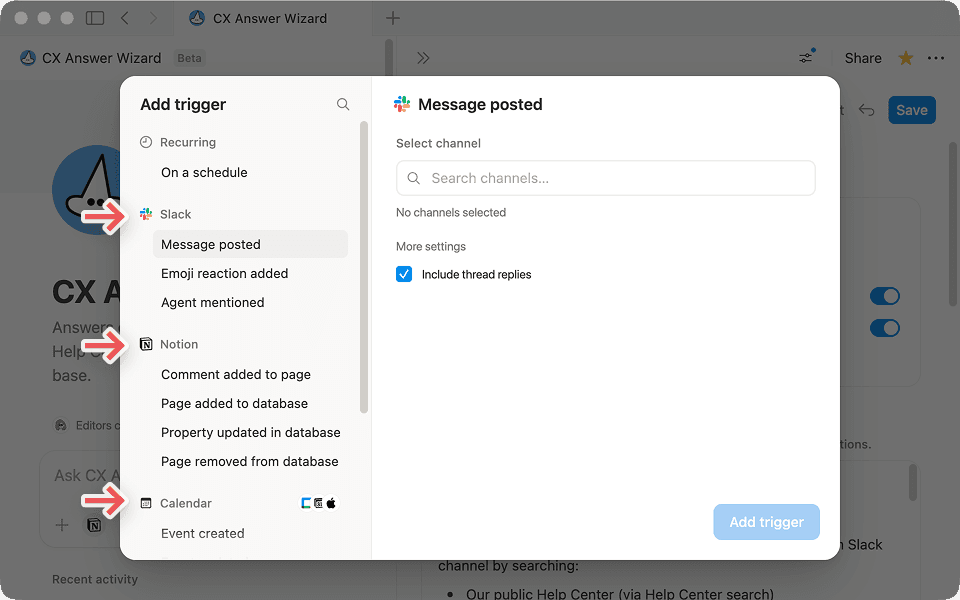
Scheduled triggers run automatically on a defined schedule:
Every Monday morning
Daily at 5 PM
Weekly on Fridays
For a Reporting Agent, the trigger is time-based. Set it to run every Monday morning or Friday afternoon so your team gets a consistent weekly summary without anyone having to compile it manually.

Once your Custom Agent has built the initial instructions, review them to see if you need to add nuance—edge cases, escalation paths, and examples of what you do or don't want.
Think in simple “if this happens, then do this” terms to guide the agent’s judgment: If the answer exists in the Help Center, reply with a short summary and a link. If it doesn't, say you don't know and tag the support team.
Once you cover the basics, you can layer on more advanced behaviors. For the product Q&A Agent, you might add:
"Once you answer a question, ask a follow-up: 'Did this answer your question? React with 👍 if yes or 👎 if you need more help.'"
"If someone reacts with 👍, add a ✅ to mark the thread as resolved."
"If someone reacts with 👎, route the question to our @Support database so someone can look at it later and assign an owner."
The instructions page acts as your agent’s memory and grows as you chat. If something isn't working, describe the problem and the agent should be able to figure out the issue. You can always open the instructions page and edit it manually if you prefer.
As you chat with your Custom Agent, it may auto-add pages, databases, or tools it needs. You'll see those show up in the Tools and access section. The agent will also prompt you to connect them.
Even if pages and tools are auto-added, you'll still need to review and grant access to each one. For most cases, view access is fine. Only give edit access when the agent actually needs to change content.
Depending on the tools you connect, the permissions needed will vary. For example, if you’re connecting Slack, choose exactly which channels — this includes both public and private channels — the agent can read from or post to. It won't respond in channels you haven't configured.

Check tool permissions before using your Custom Agent
Your agent may need access to information that isn't meant for everyone. Before you share it more widely, do a quick access check to make sure permissions line up with how you expect it to be used.
Connect your Custom Agent with MCP integrations
Before you share or activate your agent, test it. The goal isn’t perfection on the first try—it’s controlled iteration.
Test before you activate: Click
Runto execute the agent manually and review the output before turning on triggers or schedules.Start in a safe environment:
For a Slack-based agent: Create a test channel, post a question, and @mention the agent. Confirm it responds accurately and pulls from the right sources.
For a task-routing agent: Submit a test request or bug and check that it’s tagged and assigned correctly.
For a scheduled agent: Trigger it manually to preview the output before enabling the schedule.
Expect iteration: Custom Agents could take several test runs to get right. Adjust instructions based on what the output actually does, not what you intended it to do.
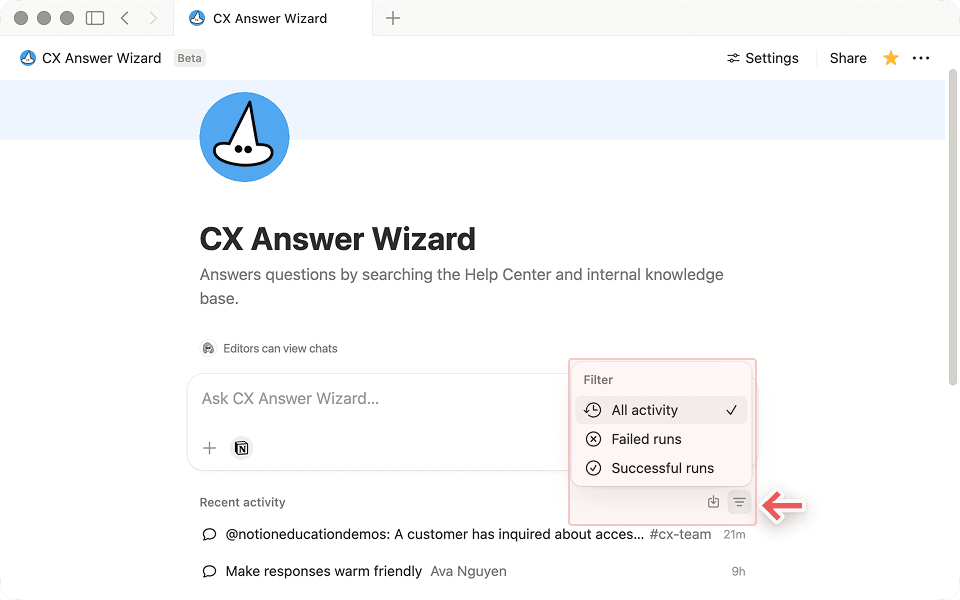
Check the activity log first: If something goes wrong, click the clock icon to see what triggered the run, what actions the agent took, and where it failed.
The Activity tab shows each run and what the agent did. If something's off, chat with the agent to troubleshoot or roll back through version history if you need to.
Troubleshoot common issues
Once your Custom Agent is working the way you want, you can save and share it with your team so everyone benefits from the same automation.
You can share an agent just like a page in Notion. Click the Share button at the top of the screen and invite teammates or groups as needed.
A few helpful things to keep in mind:
Edits improve every future run: Updates to the agent’s instructions apply to all future runs for everyone.
Permissions matter: Agents run with their own access, so review what they can see and do before sharing more broadly.
Start small: Share with a few teammates first, then expand once you’re confident it’s working smoothly.
Name and describe clearly: A clear name and short description help teammates know when and how to use the agent.
Sharing thoughtfully helps your agent become a reliable teammate, not just a personal shortcut.
Review access and permissions before sharing widely
Once your Custom Agent is running, the work that used to require constant follow-up happens automatically. Your team gets the answers, updates, and routing they need without waiting on you.
Your actual Custom Agent provides the most accurate estimate of your credit needs. After each run, the credits dashboard shows exact usage.
For best results:
Start with a small scope, then fine-tune your Custom Agent.
Review actual usage for 1–2 billing cycles to get a clearer view of your credit needs.
Adjust up or down as needed.
These estimates are based on current usage data. As we improve agent efficiency, costs are expected to decrease over time. We'll update these benchmarks regularly.
For more tips on managing credit usage, see this Guide about getting started with Custom Agents.
יש משהו שלא סקרנו?