 Melbsdev
OpsFlow
정보
Free to start, with paid tiers for higher volume and more automations.
Status stays in sync: when an order is later paid or fulfilled, the page Opsflow already created updates instead of creating a duplicate. Every sync is logged, and failed syncs can be retried with one click.
due dates, assignees, status, labels and custom fields all populate automatically if your database has a matching property. If you don't have a database set up yet, Opsflow can create one for you with everything wired in (Name, Status, Assignee, Due date, Labels).
Opsflow connects your Shopify store to a Notion database so store events show up as pages without any manual copying. New orders, refunds and cancellations, low-stock alerts, and abandoned checkouts all create a page in the database you choose the moment they happen.
Works with a database you already have, or build one in one click. Opsflow reads your database's actual properties and maps to them by type —
기능
- 콘텐츠 읽기, 삽입 및 업데이트이 연결과 공유된 페이지, 데이터베이스, 블록을 읽기, 삽입 및 업데이트 수 있습니다.
- 워크스페이스 사용자 보기이메일 주소를 포함한 워크스페이스 멤버와 게스트에 대한 기본 프로필 상세정보를 읽습니다.
사용 방법
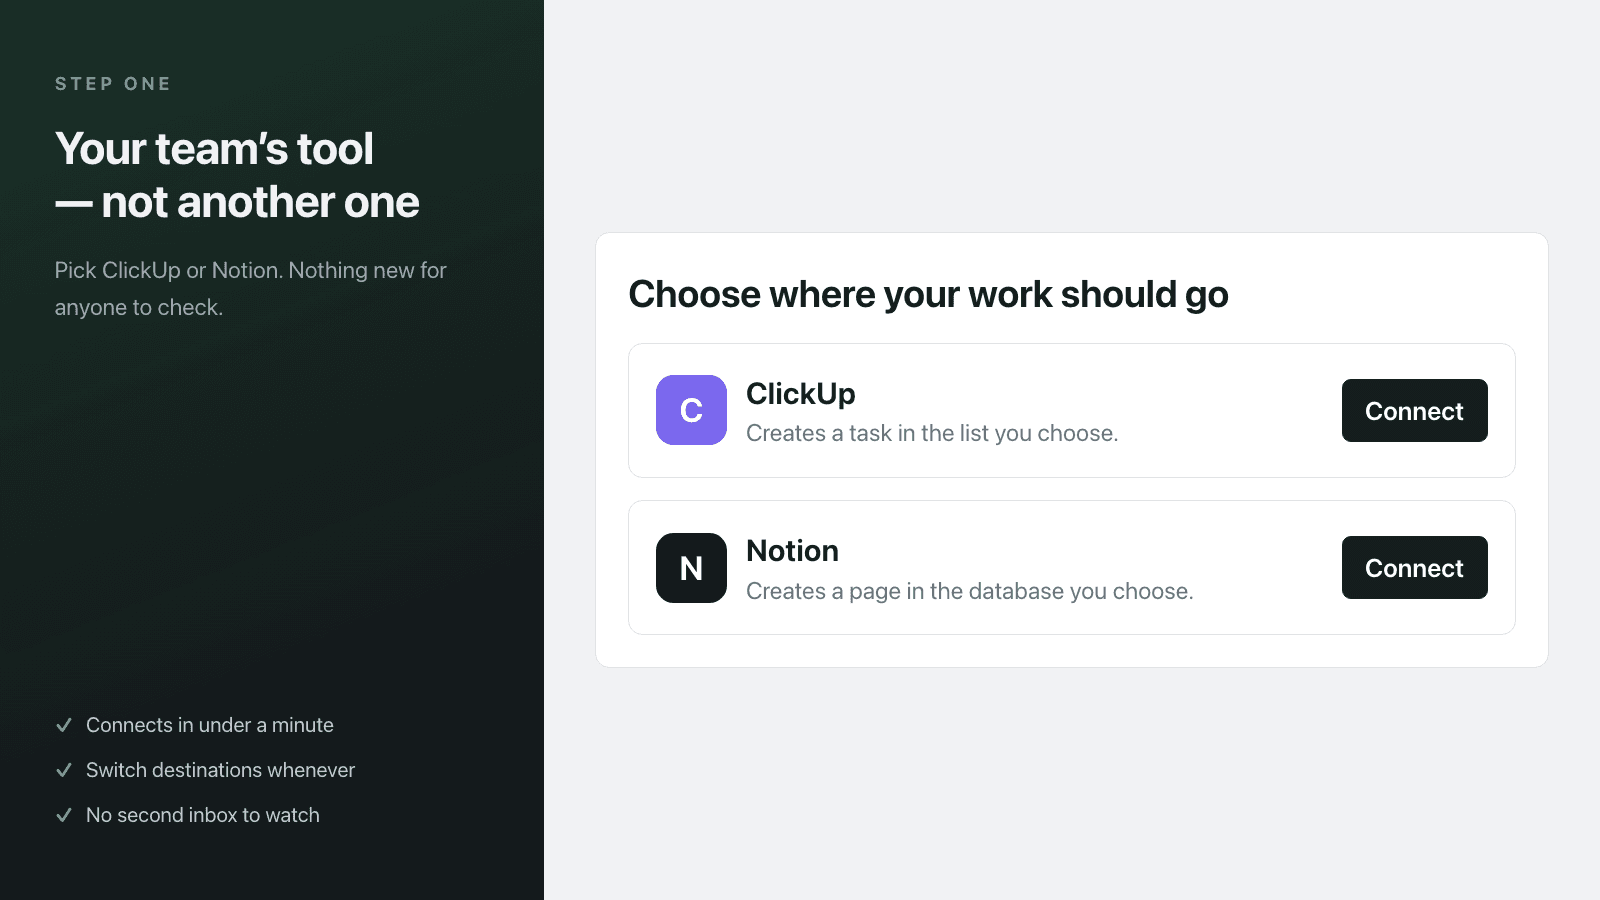
it appears in Opsflow immediately, since Notion shares nothing with a new connection by default. Don't have a database ready? Opsflow can create one for you with the right properties already set up. Turn on the automations you want (new orders, refunds, low stock, abandoned checkouts) and pick the database for each one. Matching store events then start creating pages in Notion automatically.
menu at the top right, choose Connections, and add Opsflow —
•
Install Opsflow from the Shopify App Store and open it from your Shopify admin. On the Automations page, choose Notion as your destination and connect your Notion workspace. Then share a database with Opsflow: open the database you want to use in Notion, click the •
