

About
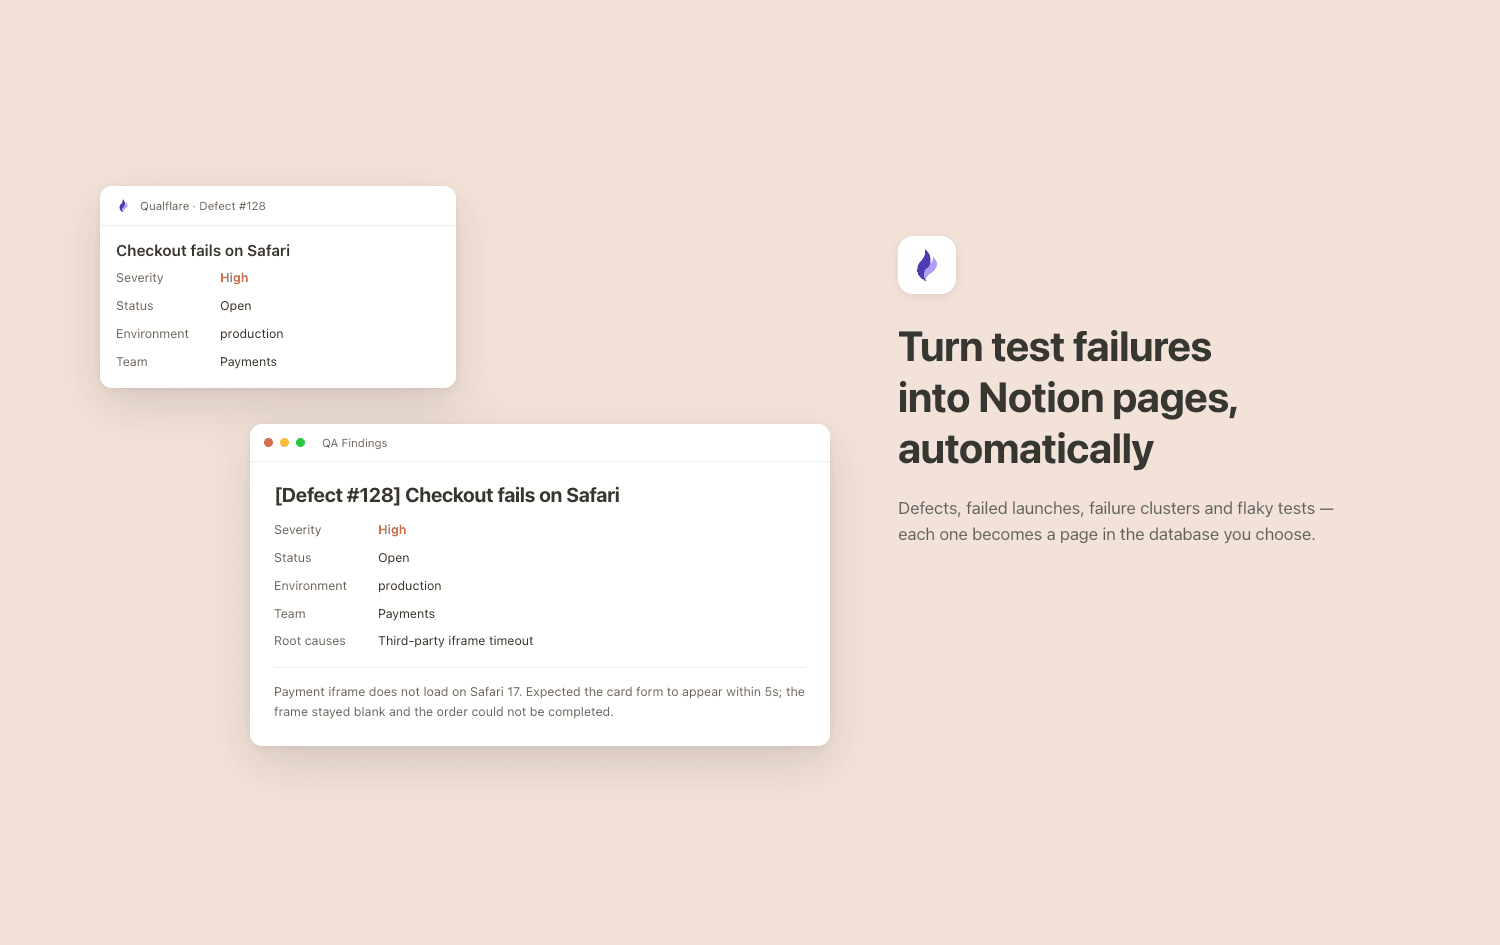
Qualflare is a test management platform for teams who run automated and manual tests at scale. This connection creates a page in a Notion database whenever something noteworthy happens in your testing — so QA findings land where your team already plans work, instead of in a tool they have to remember to check.
Choose a database and the events that matter, per project. Qualflare writes a page for each one:
- Defects — [Defect #128] Checkout fails on Safari, with severity, status, category, environment, team and root causes in the page body
- Failed launches — [Launch #482] Failed — 12 of 340 failed
- Failure clusters — [Cluster] Timeout waiting for payment iframe
- Flaky tests — [Flaky] CheckoutSpec.appliesDiscountCode
Each page links back to the originating defect in Qualflare, and the page it creates is linked from the defect in return, so the two stay navigable in both directions.
The connection is one-way and additive: Qualflare creates pages, and never edits or deletes anything else in your workspace. You choose exactly which pages and databases to share during setup, and Qualflare can only see those.
ฟีเจอร์
- อ่าน แทรก และอัพเดทเนื้อหาอ่าน แทรก และอัพเดทหน้า ฐานข้อมูล และบล็อคที่แชร์กับการเชื่อมต่อนี้ได้
- ดูผู้ใช้ในพื้นที่ทำงานอ่านรายละเอียดโพรไฟล์พื้นฐานเกี่ยวกับสมาชิกและผู้ใช้ชั่วคราวในพื้นที่ทำงาน รวมถึงอีเมล
How to use
You'll need a Qualflare account and a Notion database to write into.
1. In Notion, create or choose the database for QA findings. A board or table view works well.
2. In Qualflare, go to Workspace Settings → Integrations → Notion and press Connect.
3. Notion asks which pages you want to share. Select the database from step 1 — Qualflare can only write to what you share here.
4. Open a project, go to Integrations → Notion, and paste the Database ID. It's the 32-character id in the database's URL, between your workspace name and the ?. Paste the id, not the whole URL.
5. Tick the events that should create a page — Defect Created, Launch Failed, Cluster Created, Flaky Test Detected — and Save.
The next matching event creates a page. Repeat step 4 for each project; different projects can write to different databases.
Details

- วิศวกรรม
- การวิเคราะห์
- ประสิทธิภาพการทำงาน