
Certs 365
About
Certs 365 issues blockchain-verified certificates and credentials directly from your Notion database — fully automated, no manual work.
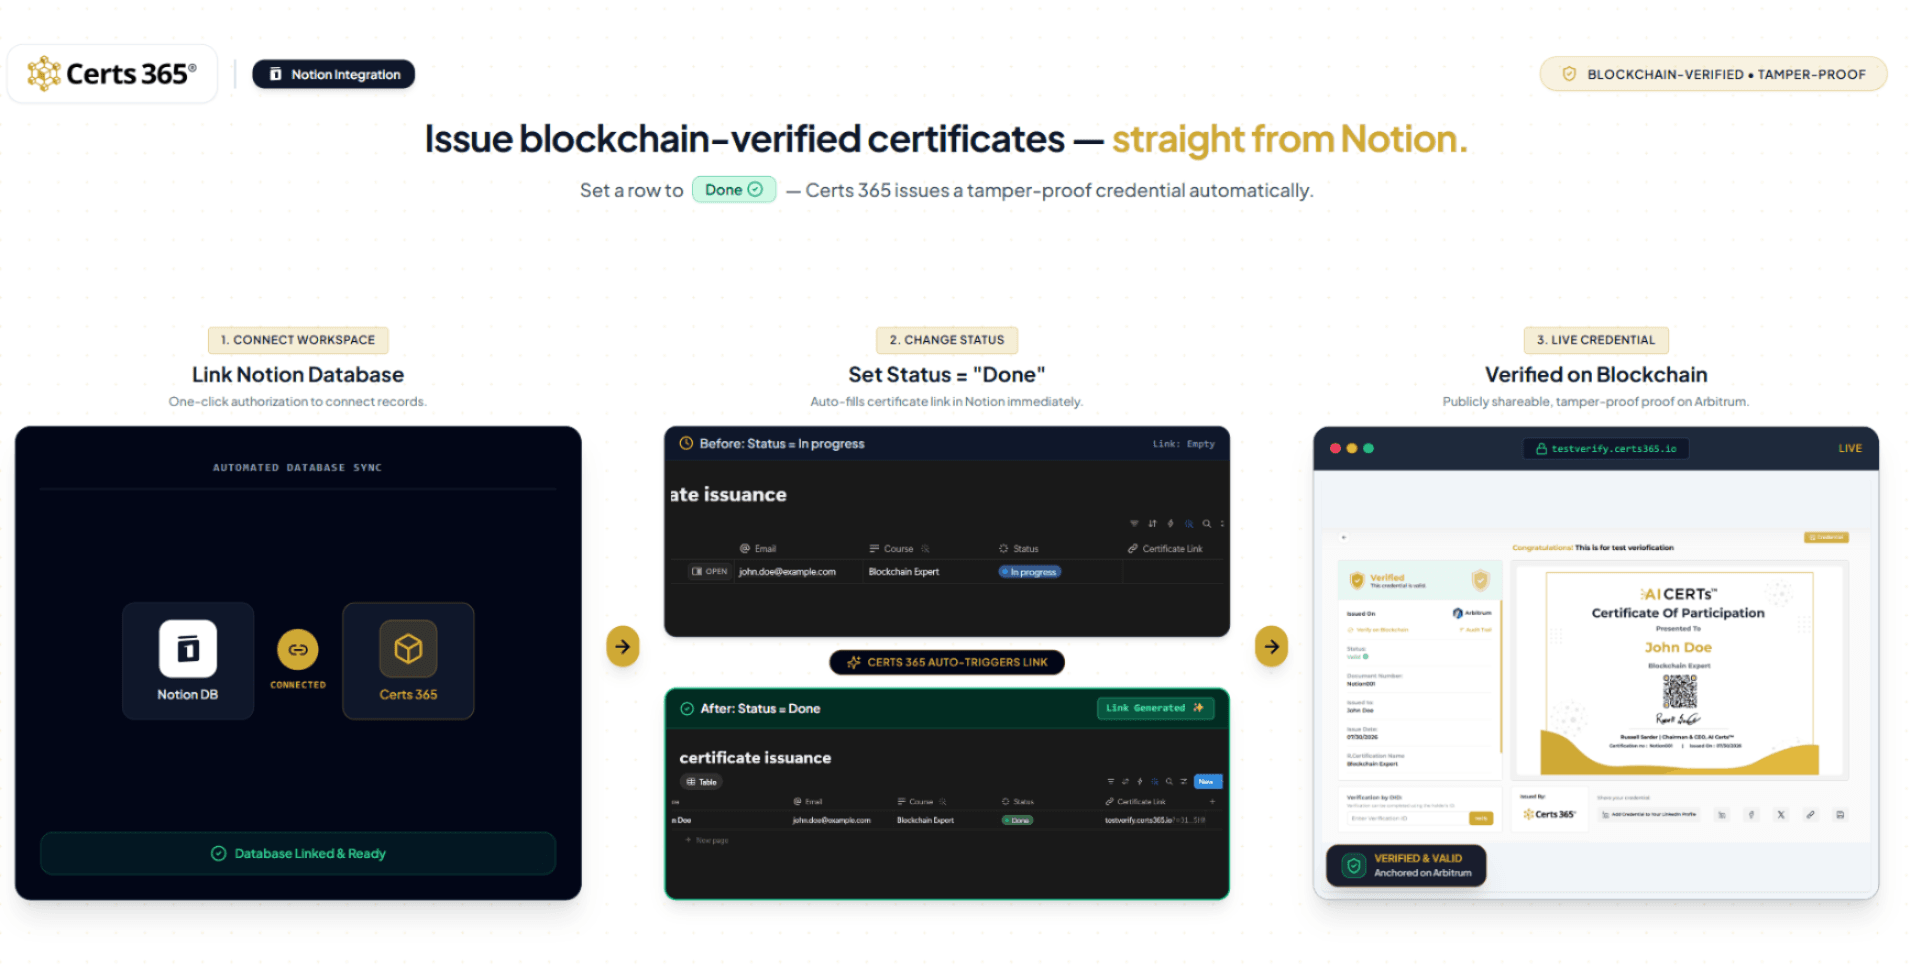
Keep your recipients in a Notion database with columns like Name, Email, Course, and a Status property. The moment you set a row's Status to "Done", Certs 365 automatically:
• Reads the recipient's details from that row
• Generates a certificate and records it on the blockchain for tamper-proof, independently verifiable proof
• Writes the certificate's verification link back into the row's Certificate Link column
• (Optionally) emails the certificate straight to the recipient
Every credential is permanent, forgery-proof, and verifiable by anyone — without exposing your data. It's the fastest way for training providers, universities, HR teams, and course creators to automate credentialing without ever leaving Notion.
How it works
- Connect your Notion workspace to Certs 365 with one click.
- Pick the database that holds your recipients.
- Set a row's Status to "Done" — the credential is issued and the verification link appears automatically.
Fitur
- Membaca dan memperbarui kontenDapat membaca dan memperbarui halaman, database, dan blok yang dibagikan dengan koneksi ini.
How to use
Getting started with Certs 365 for Notion
Certs 365 automatically issues blockchain-verified certificates from your Notion database. When you mark a recipient's row as Done, Certs 365 generates a tamper-proof credential and writes the verification link back into your database.
Prerequisites
-
A Certs 365 account (sign up at
-
A Notion workspace where you can create a database
Step 1 — Connect your Notion workspace
-
In Certs 365, go to
Integrations → Notion
-
Click
Connect Notionand authorize access to the workspace and database you want to use.
-
Select the certificate template Certs 365 should use for issuance.
Step 2 — Set up your Notion database
Create (or open) a database with these columns:
-
Name
— recipient's full name (Title)
-
Email
— recipient's email (Email)
-
Course
— the course or certificate name (Text)
-
Status
— a Status property that includes a
"Done"
option
-
Certificate Link
— a URL property (leave this empty; Certs 365 fills it automatically)
Step 3 — Add your recipients
Add a row for each person you want to certify, filling in Name, Email, and Course. Keep the Status as "In progress" (or "Not started") until you're ready to issue.
Step 4 — Issue a credential
Set a recipient's Status to "Done". That's it — Certs 365 automatically:
-
Reads the recipient details from that row
-
Generates a certificate and records it on the blockchain (tamper-proof, independently verifiable)
-
Writes the verification link into the
Certificate Link
column
-
(Optionally) emails the certificate to the recipient
Step 5 — Verify and share
Open the URL in the Certificate Link column to view the live, blockchain-verified certificate. Recipients can share it via link, LinkedIn, or PDF, and anyone can verify its authenticity.
Notes
-
Each row is issued only once — setting Status to "Done" again won't duplicate the credential.
-
Make sure the Certs 365 integration has both
Read content
and
Update content
access, so it can read the row and write the certificate link back.
-
Certificates are permanent and cannot be altered once issued.
Details
- Automasi
- Keamanan & kepatuhan