
Certs 365
Información
Certs 365 issues blockchain-verified certificates and credentials directly from your Notion database — fully automated, no manual work.
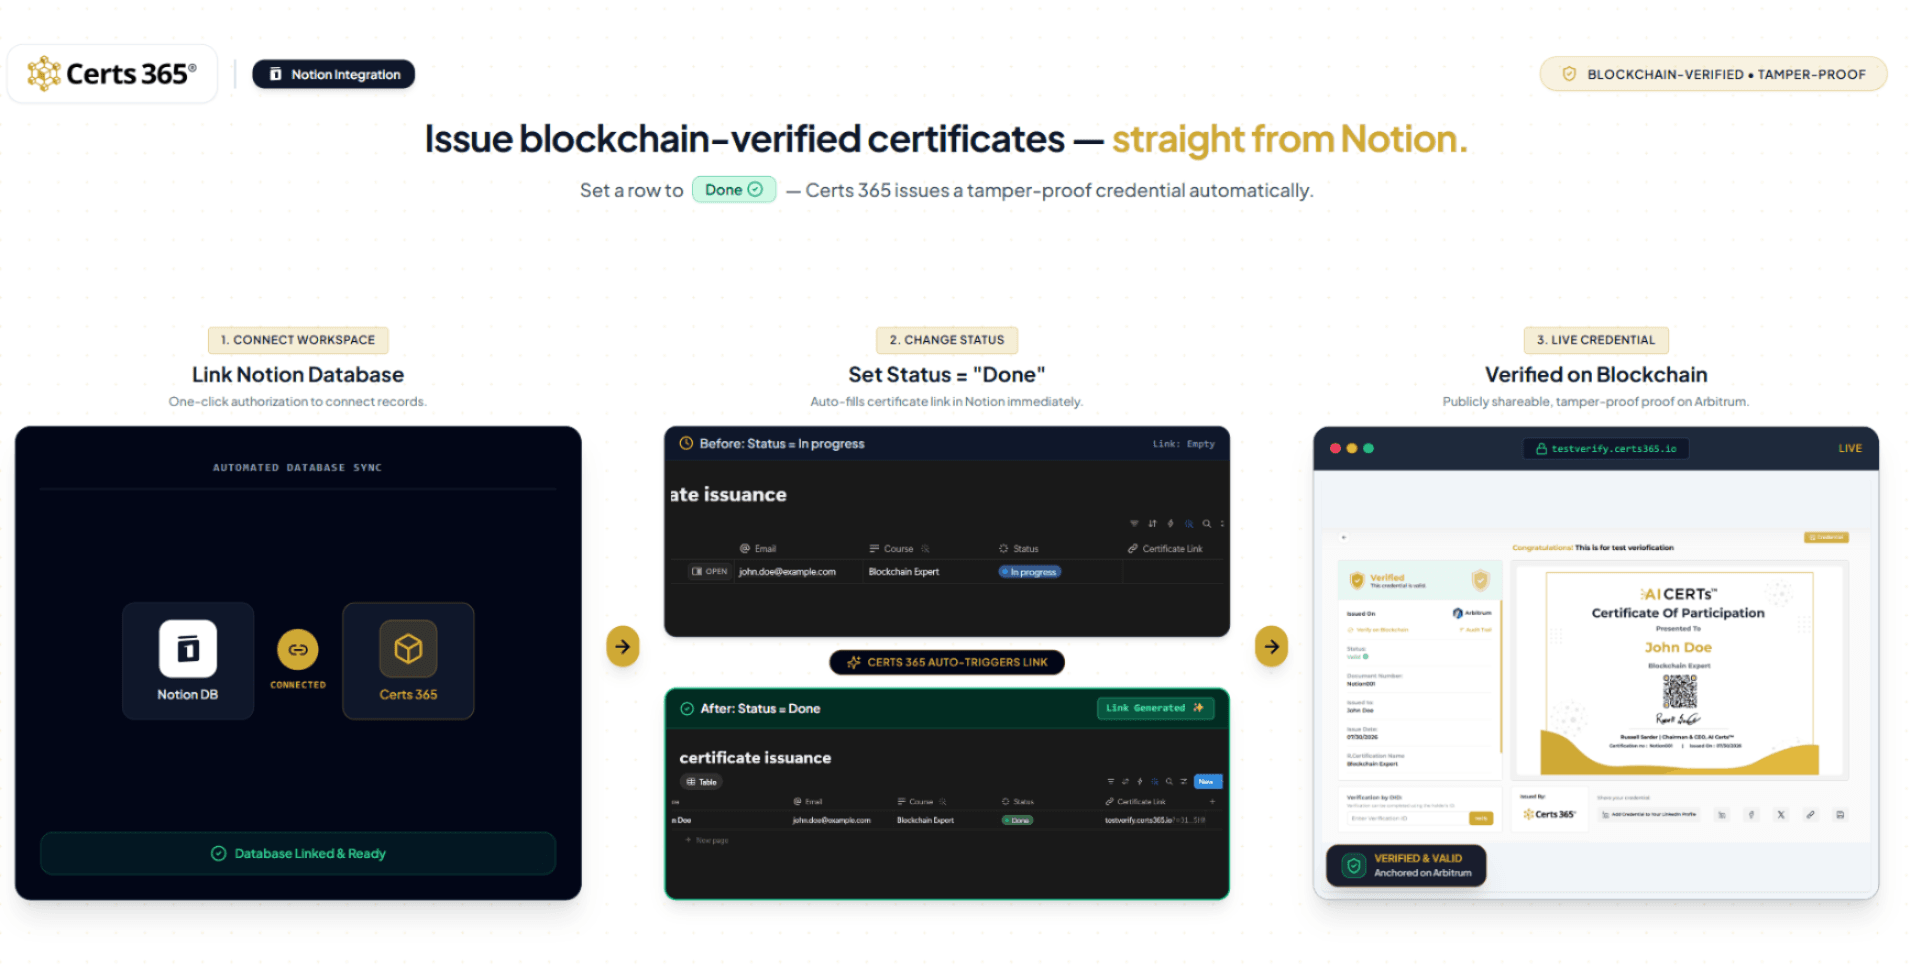
Keep your recipients in a Notion database with columns like Name, Email, Course, and a Status property. The moment you set a row's Status to "Done", Certs 365 automatically:
• Reads the recipient's details from that row
• Generates a certificate and records it on the blockchain for tamper-proof, independently verifiable proof
• Writes the certificate's verification link back into the row's Certificate Link column
• (Optionally) emails the certificate straight to the recipient
Every credential is permanent, forgery-proof, and verifiable by anyone — without exposing your data. It's the fastest way for training providers, universities, HR teams, and course creators to automate credentialing without ever leaving Notion.
How it works
- Connect your Notion workspace to Certs 365 with one click.
- Pick the database that holds your recipients.
- Set a row's Status to "Done" — the credential is issued and the verification link appears automatically.
Funciones
- Leer y actualizar contenidoPuede leer y actualizar páginas, bases de datos y bloques compartidos con esta conexión.
Cómo se usa
Getting started with Certs 365 for Notion
Certs 365 automatically issues blockchain-verified certificates from your Notion database. When you mark a recipient's row as Done, Certs 365 generates a tamper-proof credential and writes the verification link back into your database.
Prerequisites
-
A Certs 365 account (sign up at
-
A Notion workspace where you can create a database
Step 1 — Connect your Notion workspace
-
In Certs 365, go to
Integrations → Notion
-
Click
Connect Notionand authorize access to the workspace and database you want to use.
-
Select the certificate template Certs 365 should use for issuance.
Step 2 — Set up your Notion database
Create (or open) a database with these columns:
-
Name
— recipient's full name (Title)
-
Email
— recipient's email (Email)
-
Course
— the course or certificate name (Text)
-
Status
— a Status property that includes a
"Done"
option
-
Certificate Link
— a URL property (leave this empty; Certs 365 fills it automatically)
Step 3 — Add your recipients
Add a row for each person you want to certify, filling in Name, Email, and Course. Keep the Status as "In progress" (or "Not started") until you're ready to issue.
Step 4 — Issue a credential
Set a recipient's Status to "Done". That's it — Certs 365 automatically:
-
Reads the recipient details from that row
-
Generates a certificate and records it on the blockchain (tamper-proof, independently verifiable)
-
Writes the verification link into the
Certificate Link
column
-
(Optionally) emails the certificate to the recipient
Step 5 — Verify and share
Open the URL in the Certificate Link column to view the live, blockchain-verified certificate. Recipients can share it via link, LinkedIn, or PDF, and anyone can verify its authenticity.
Notes
-
Each row is issued only once — setting Status to "Done" again won't duplicate the credential.
-
Make sure the Certs 365 integration has both
Read content
and
Update content
access, so it can read the row and write the certificate link back.
-
Certificates are permanent and cannot be altered once issued.
Detalles
- Automatizaciones
- Seguridad y cumplimiento normativo