Notion API connections
With Notion's API, you'll be able to create custom internal connections. Some of our partners may also require an internal connection token in order to link their platform to your Notion workspace - below, we'll walk you through how to set this up 🏗️
Visit our developer hub for documentation, resources, and connection management tools.

Note: Workspace owners manage all connections in a workspace. Learn more here →
In your left sidebar, navigate to
Settingsand then theConnectionstab.Only Workspace owners will be able to access the
Connectionstab and create integrations. If you are not an admin, please contact your Workspace admin or use a different workspace.Click the
Develop your own connectionslink at the bottom.My connections will open in your default browser. Click the
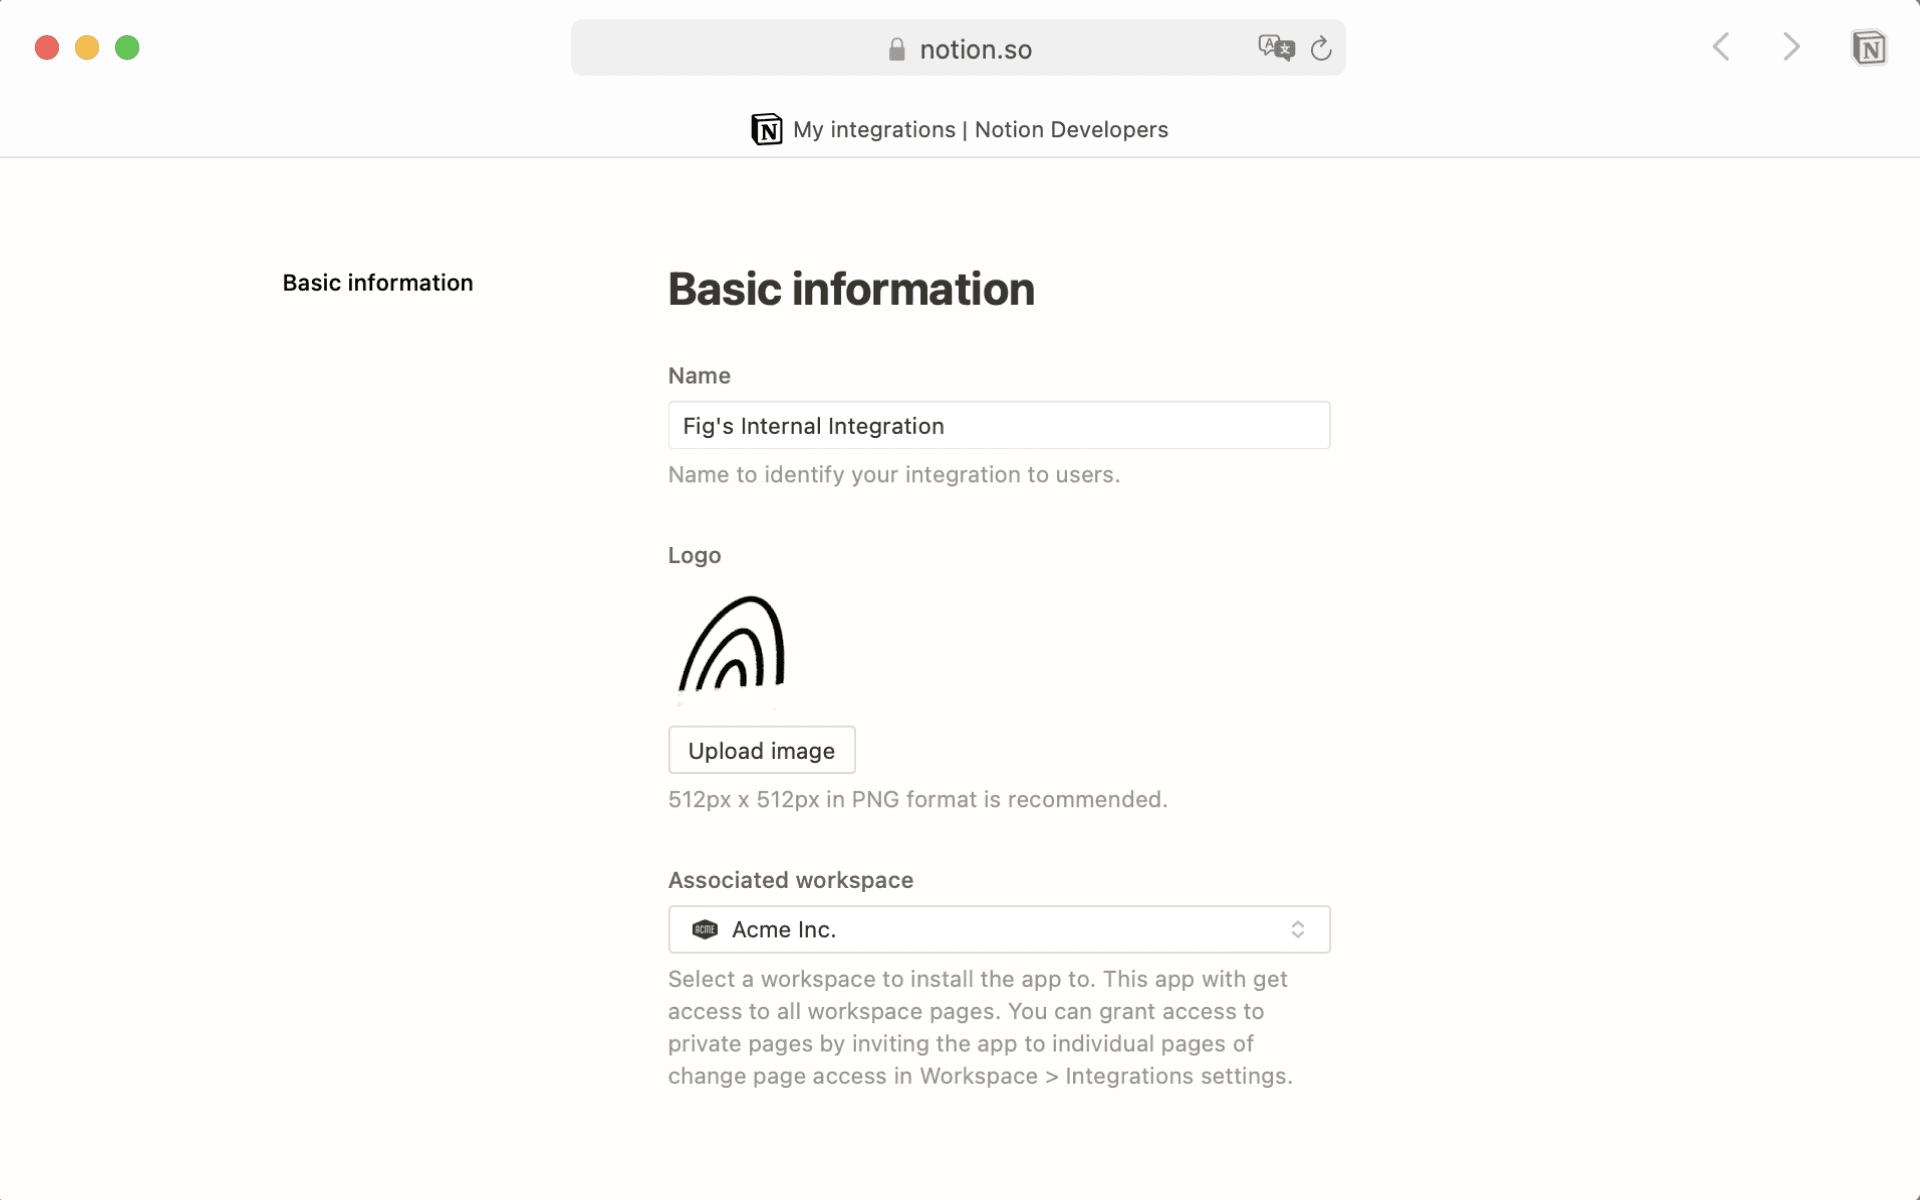
+ New connectionbutton.Provide a
Namefor your connection. Optionally, you can also upload an image to use as aLogo.Use the dropdown menu to specify which
Associated workspaceyou would like to use this connection with.Note: Make sure you're logged into Notion on your web session with the same account that you used on desktop. Otherwise, you will not see the correct account and workspaces!
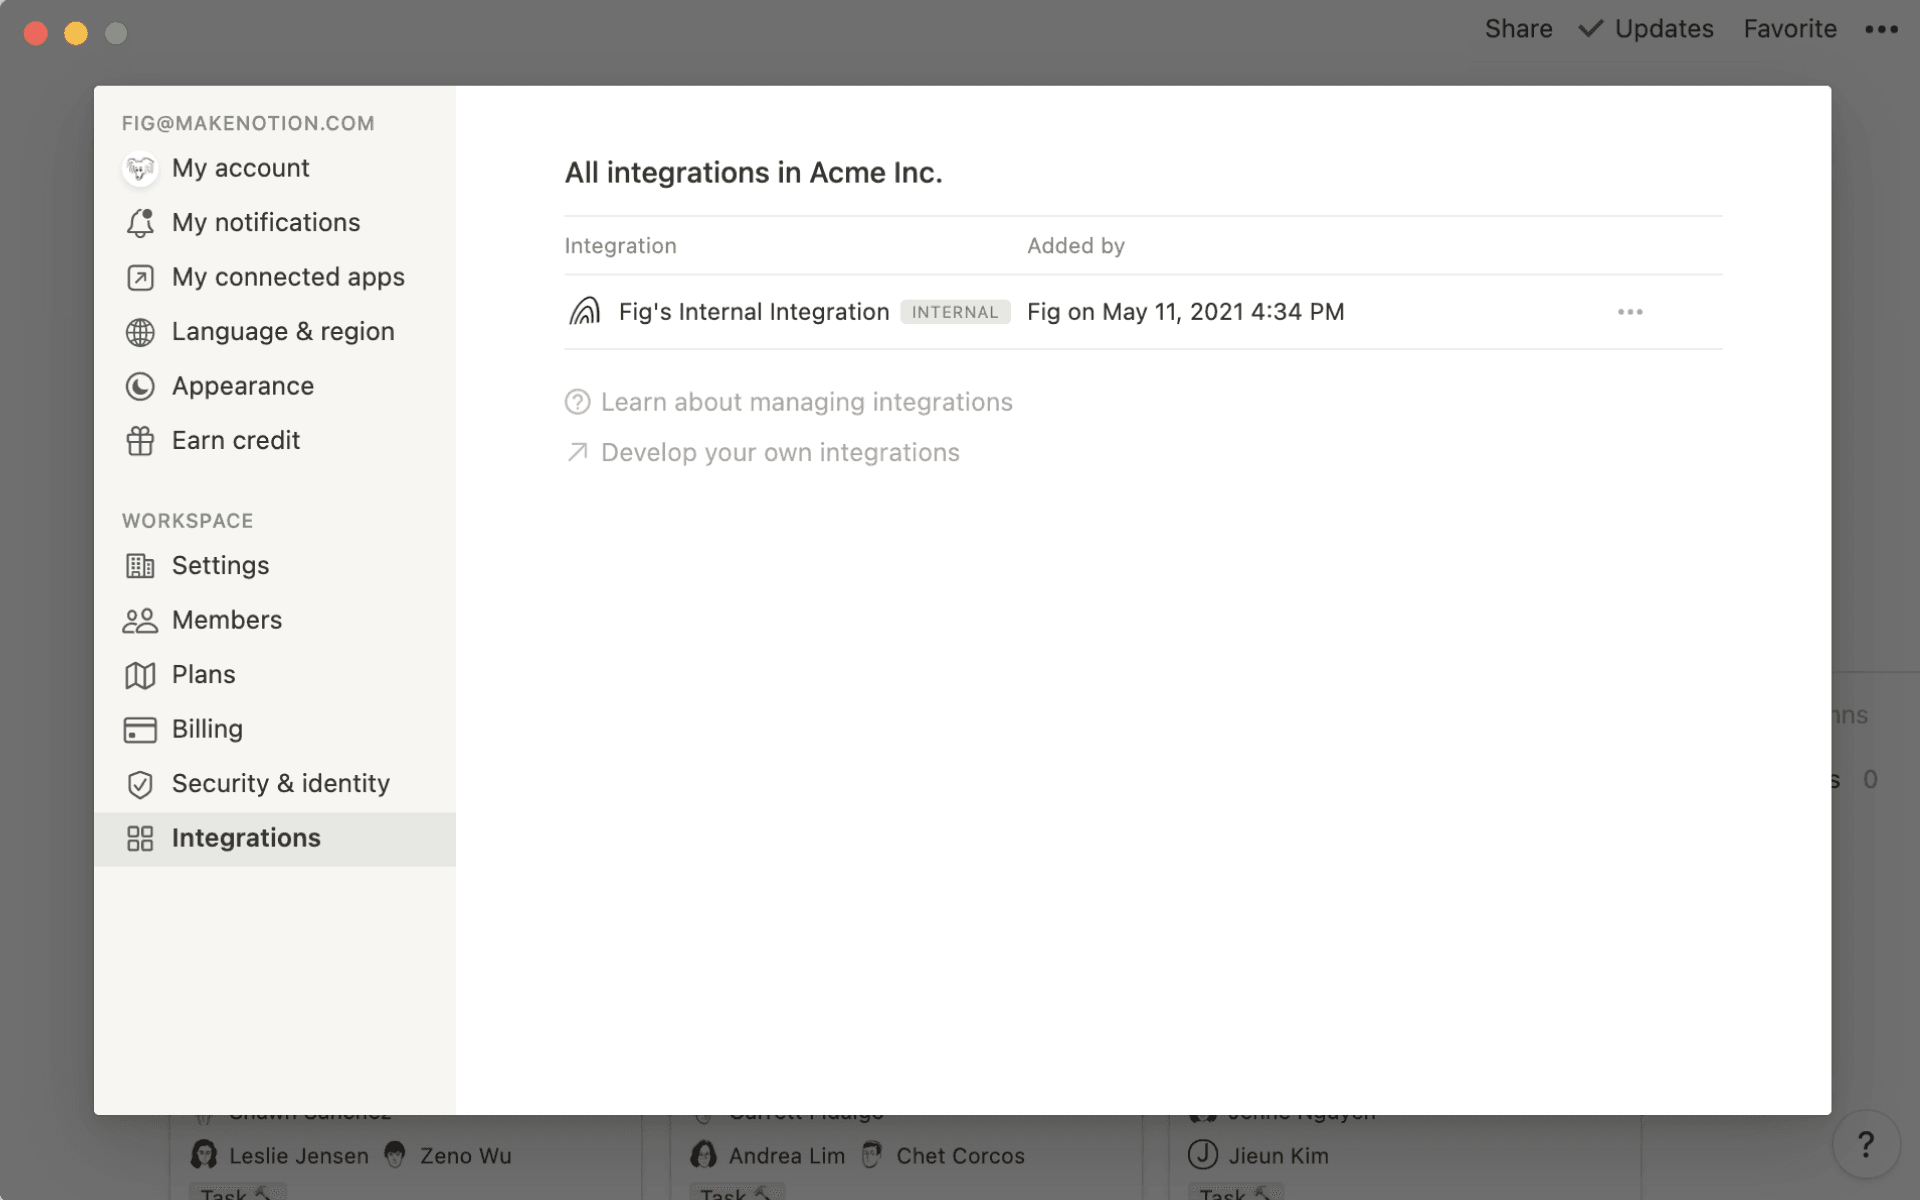
Your internal connection has been added successfully! You'll now be able to see it in your workspace, in the
Settingsmenu →Connections.Click the
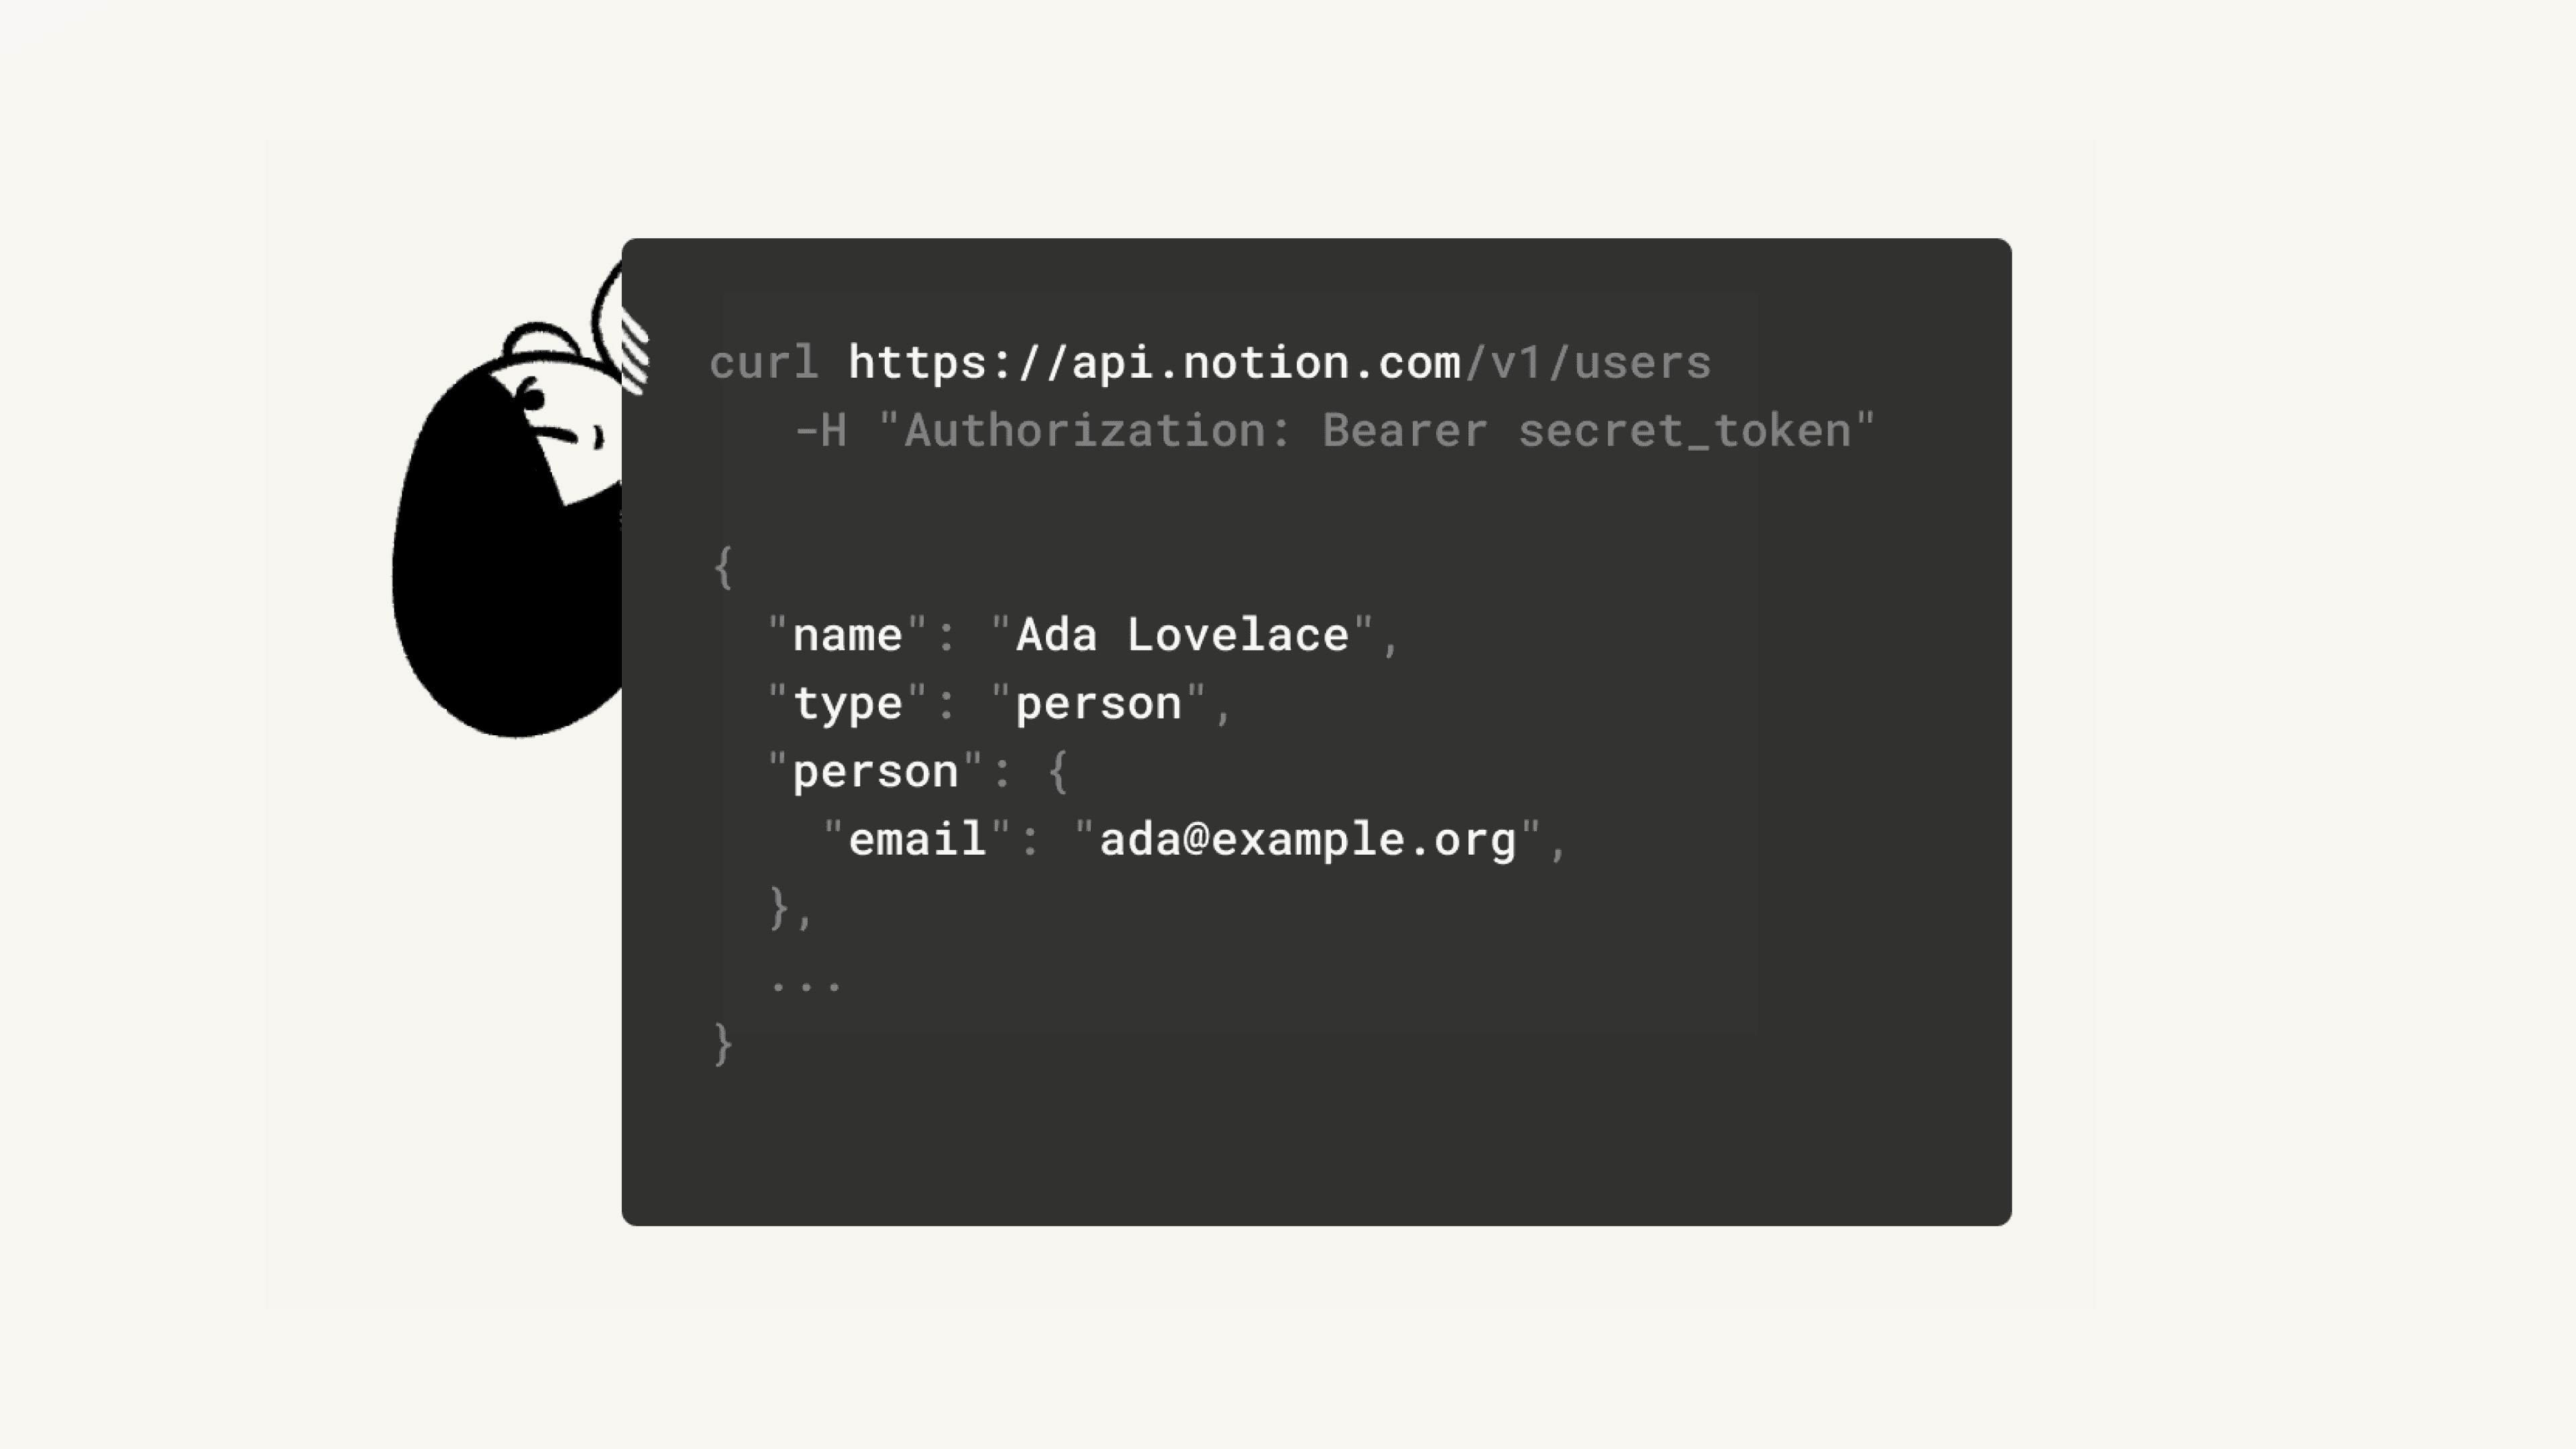
•••next to the internal connection to retrieve the internal connection token. You'll need this token for any API-based automations or workflows your team creates, or to link your workspace to some partner platforms.
Note: Internal connections are workspace-specific, so to change the associated workspace, you'll have to create a new connection.
All newly added connections are internal initially. If you're a developer working on a public connection, first use the above instructions to create an internal connection.
Then, follow the instructions in our developer guide to convert it to a public connection.
During the app setup process, developers will be able to choose the access level required from the user.
Content capabilities:
Read content only
Write content only
Insert content
User capabilities
No user information
Read user info (not including user's email address)
Read user info (including email)
When users install connections, this access level will be displayed. It will also show in the Share menu of any pages that the connection that has been added to. Learn more about installing connections in a workspace →
Connection webhooks enable connections to monitor and respond to changes in Notion workspaces in real-time.
When changes occur in pages or databases shared with your connection, Notion automatically sends notifications to your webhook endpoint, allowing your connection to instantly update other tools, run automated tasks, or display the latest changes.
Set up connection webhooks
For instructions, please visit our developer docs.
Connection webhooks currently do not support notifications for:
User changes (including workspace membership changes, email/name updates, and permission modifications).
Workspace and teamspace settings changes.
For these types of notifications, use the audit log instead.
Webhook actions vs. connection webhooks
Webhook actions and connection webhooks share some similarities—both have triggers and can send events to third-party services. However, connection webhooks offer broader capabilities:
They can monitor activity across multiple workspaces.
They can handle an unlimited number of actions.
In contrast, webhook actions are designed for simpler use cases and are configured through database automations with a limited set of triggers.