Sede central de Notion.
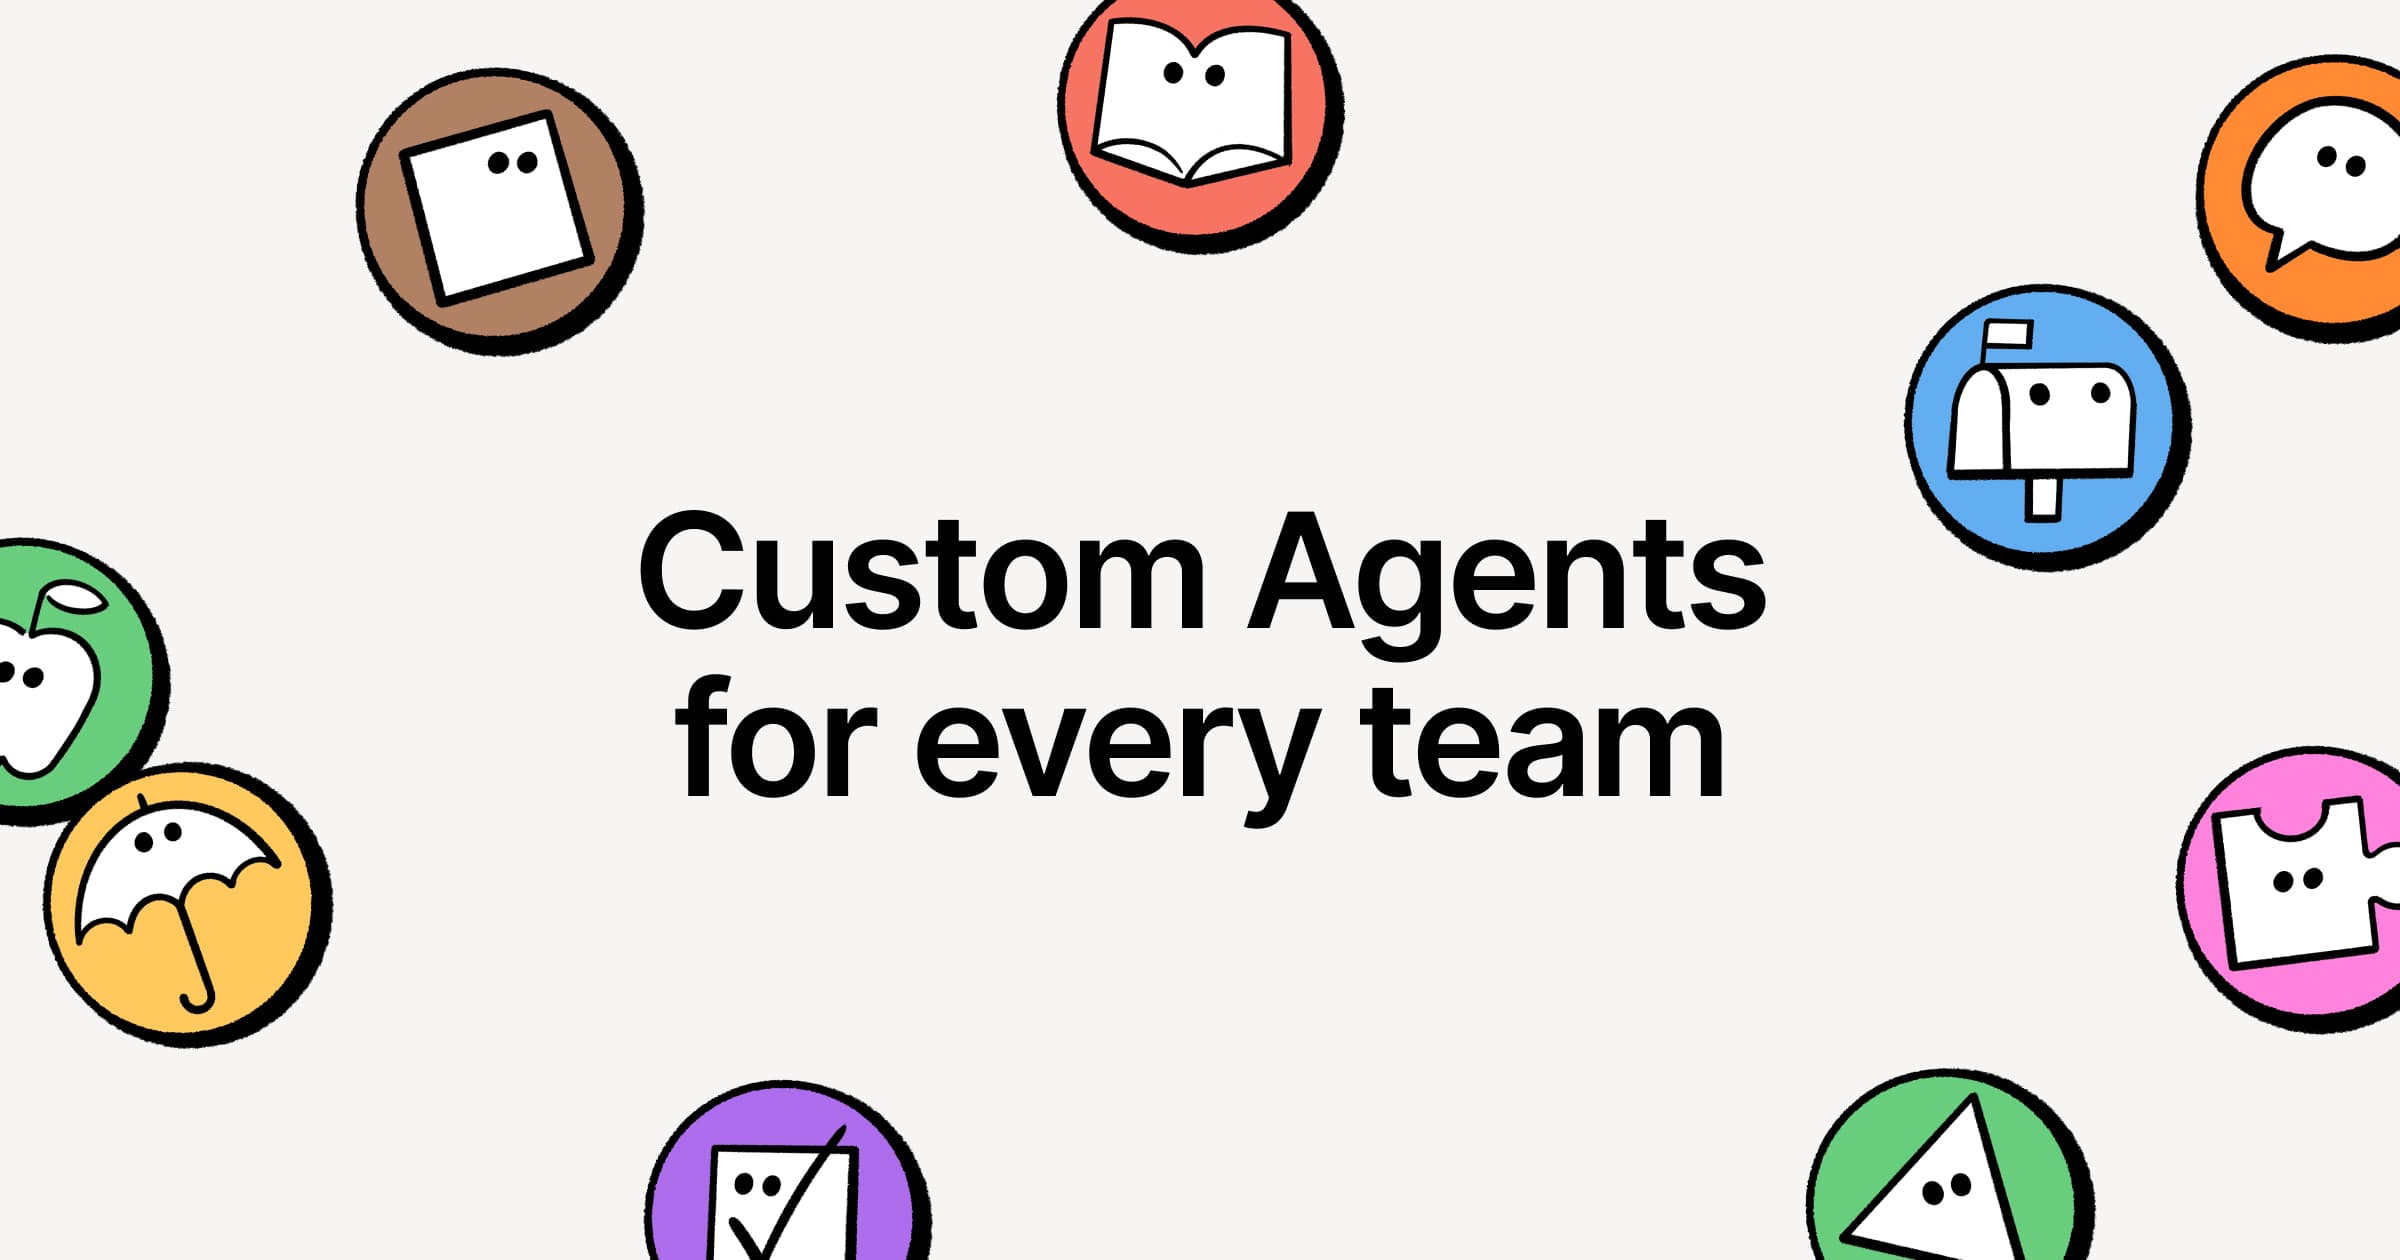
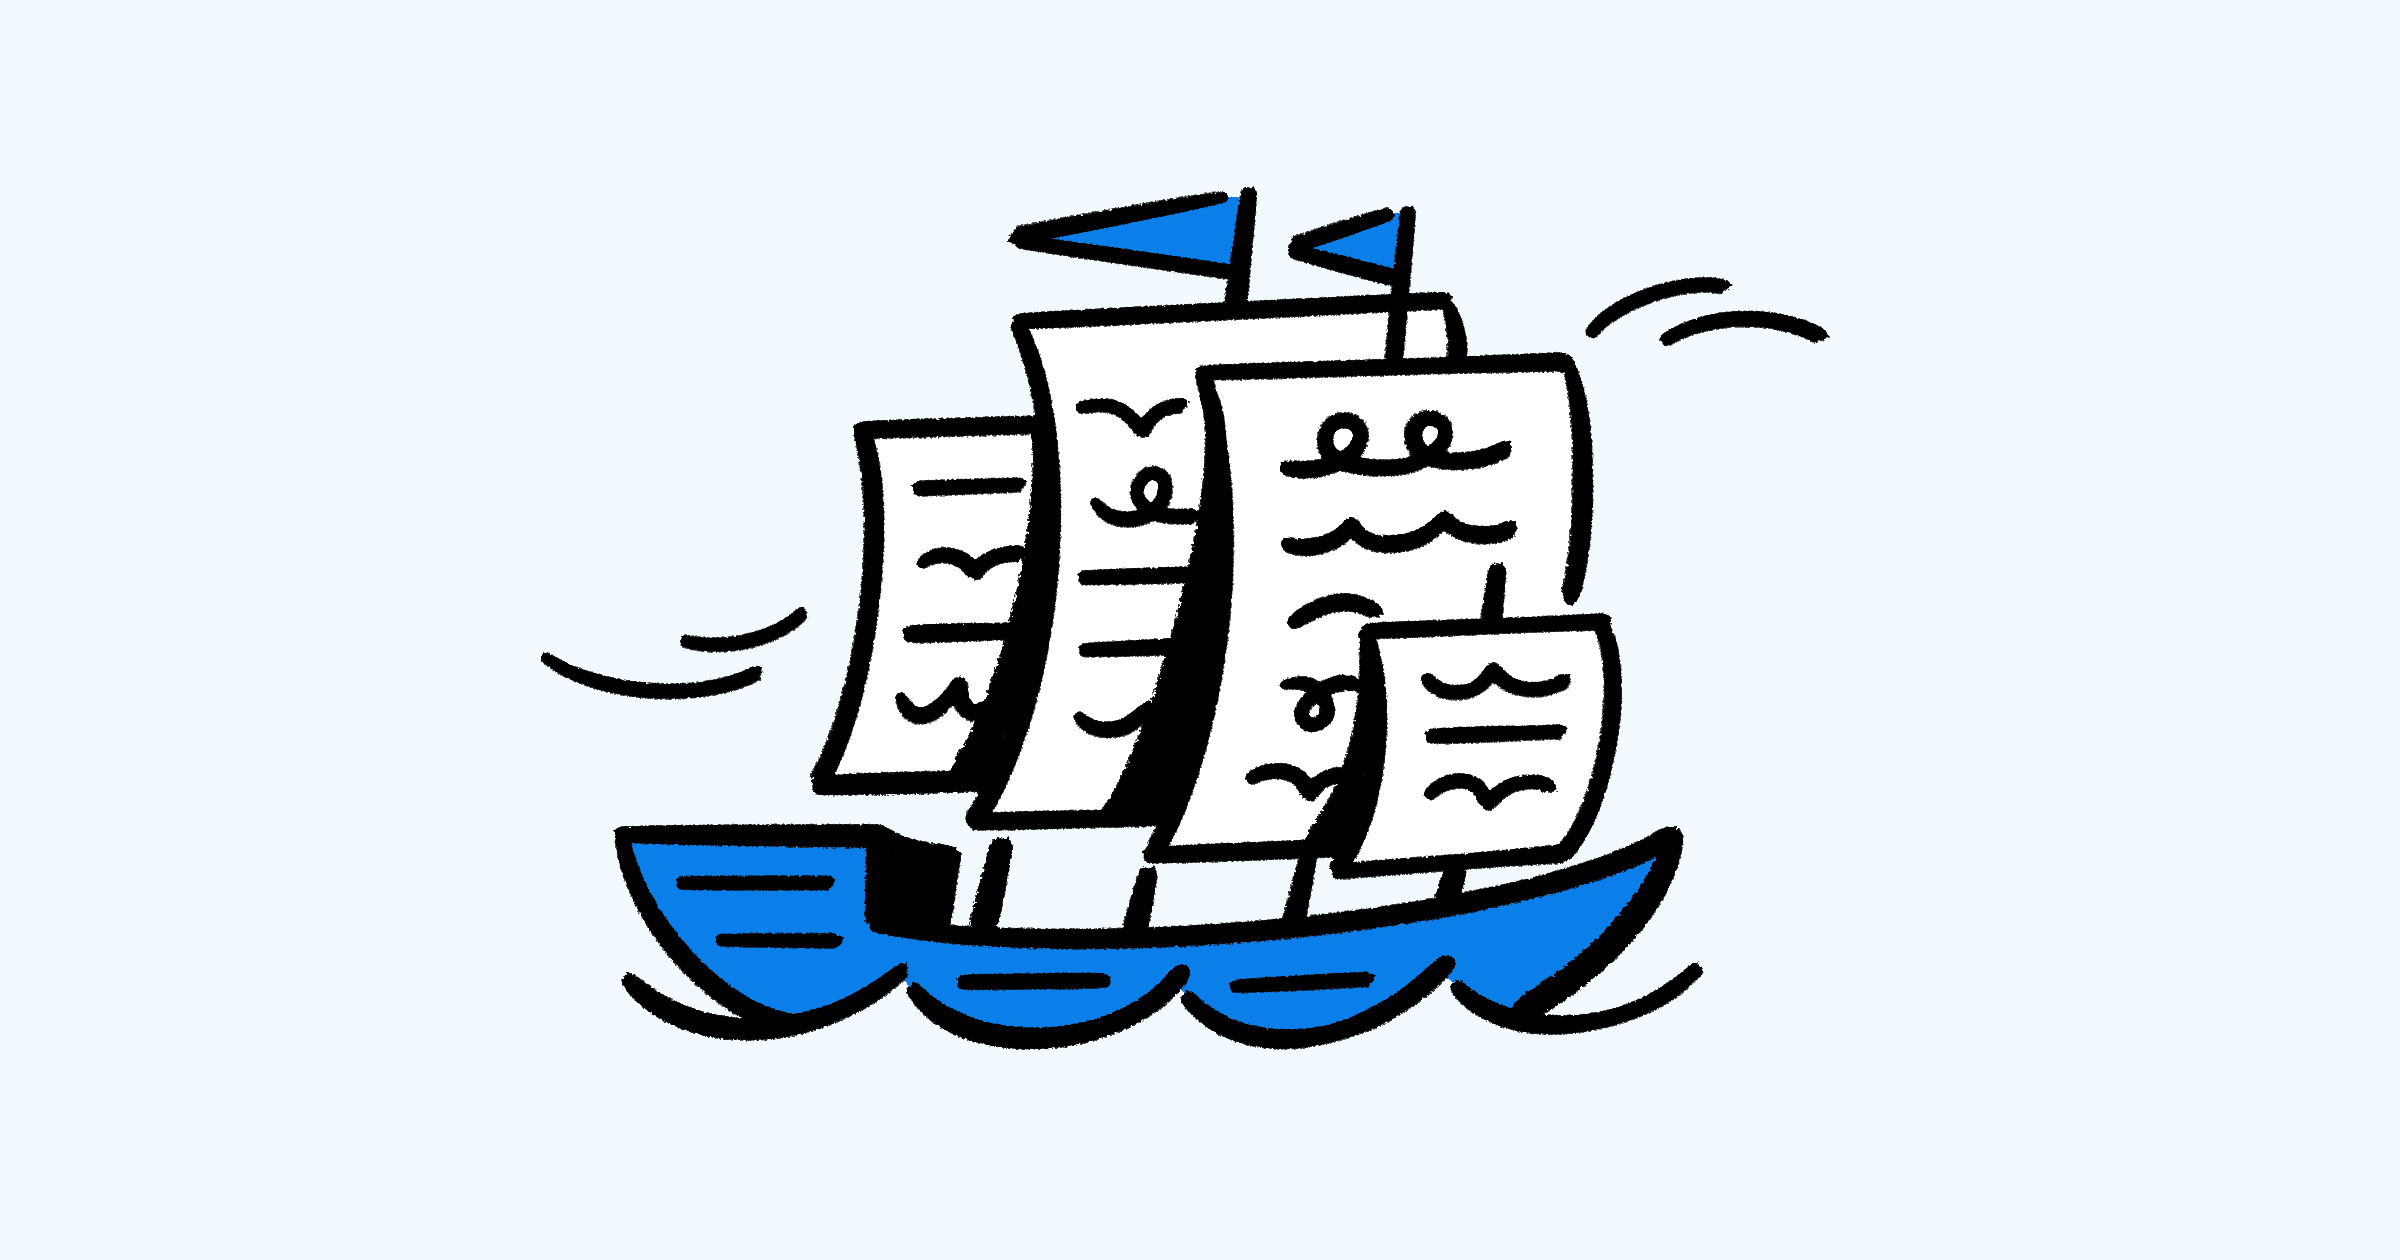
Te presentamos la plataforma para desarrolladores de Notion
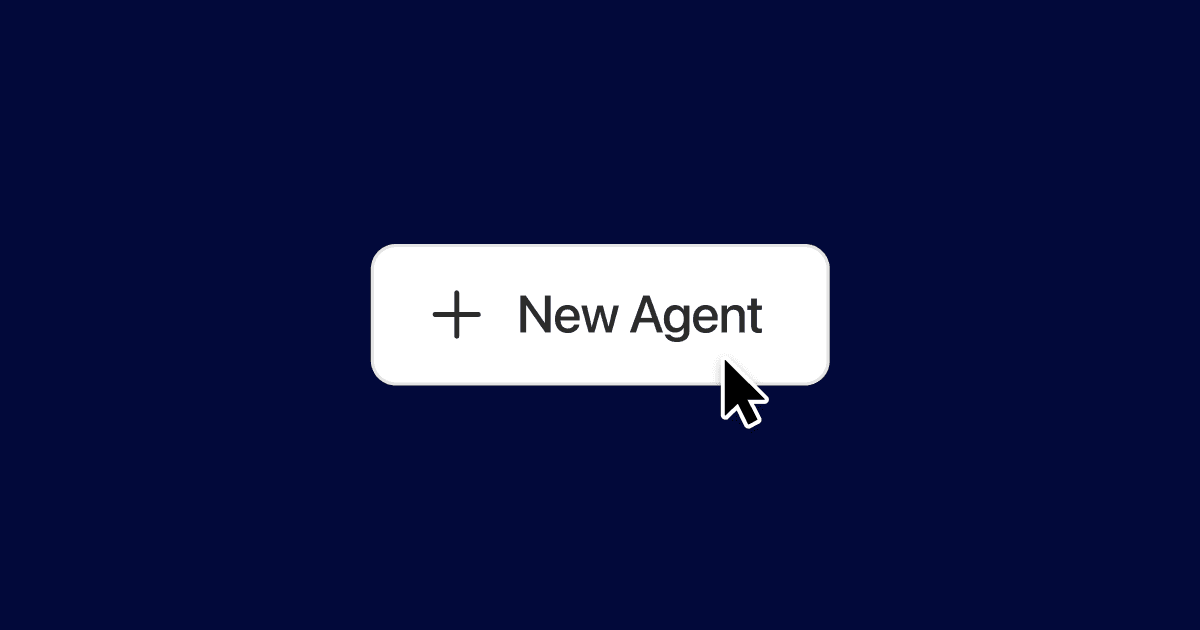
Nos complace presentar la plataforma para desarrolladores de Notion: nuevos bloques de construcción que brindan a desarrolladores y agentes la capacidad de extender lo que es posible en Notion y llevarlo más allá.
Max Schoening
Head of Product, Notion