Create & manage groups

Groups in Notion allow you to bring people together and collaborate more easily 💼
Chuyển đến Câu hỏi thường gặpYou can set varying and granular permissions for different groups and teams without having to divide your people into different workspaces! Instead, create groups inside one workspace and grant them different levels of access page by page. Here's how.

Note: Guests in your workspace can't be added to groups. This feature is for members only!
Workspace owners and membership admins can create and edit groups. To do this:
Go to
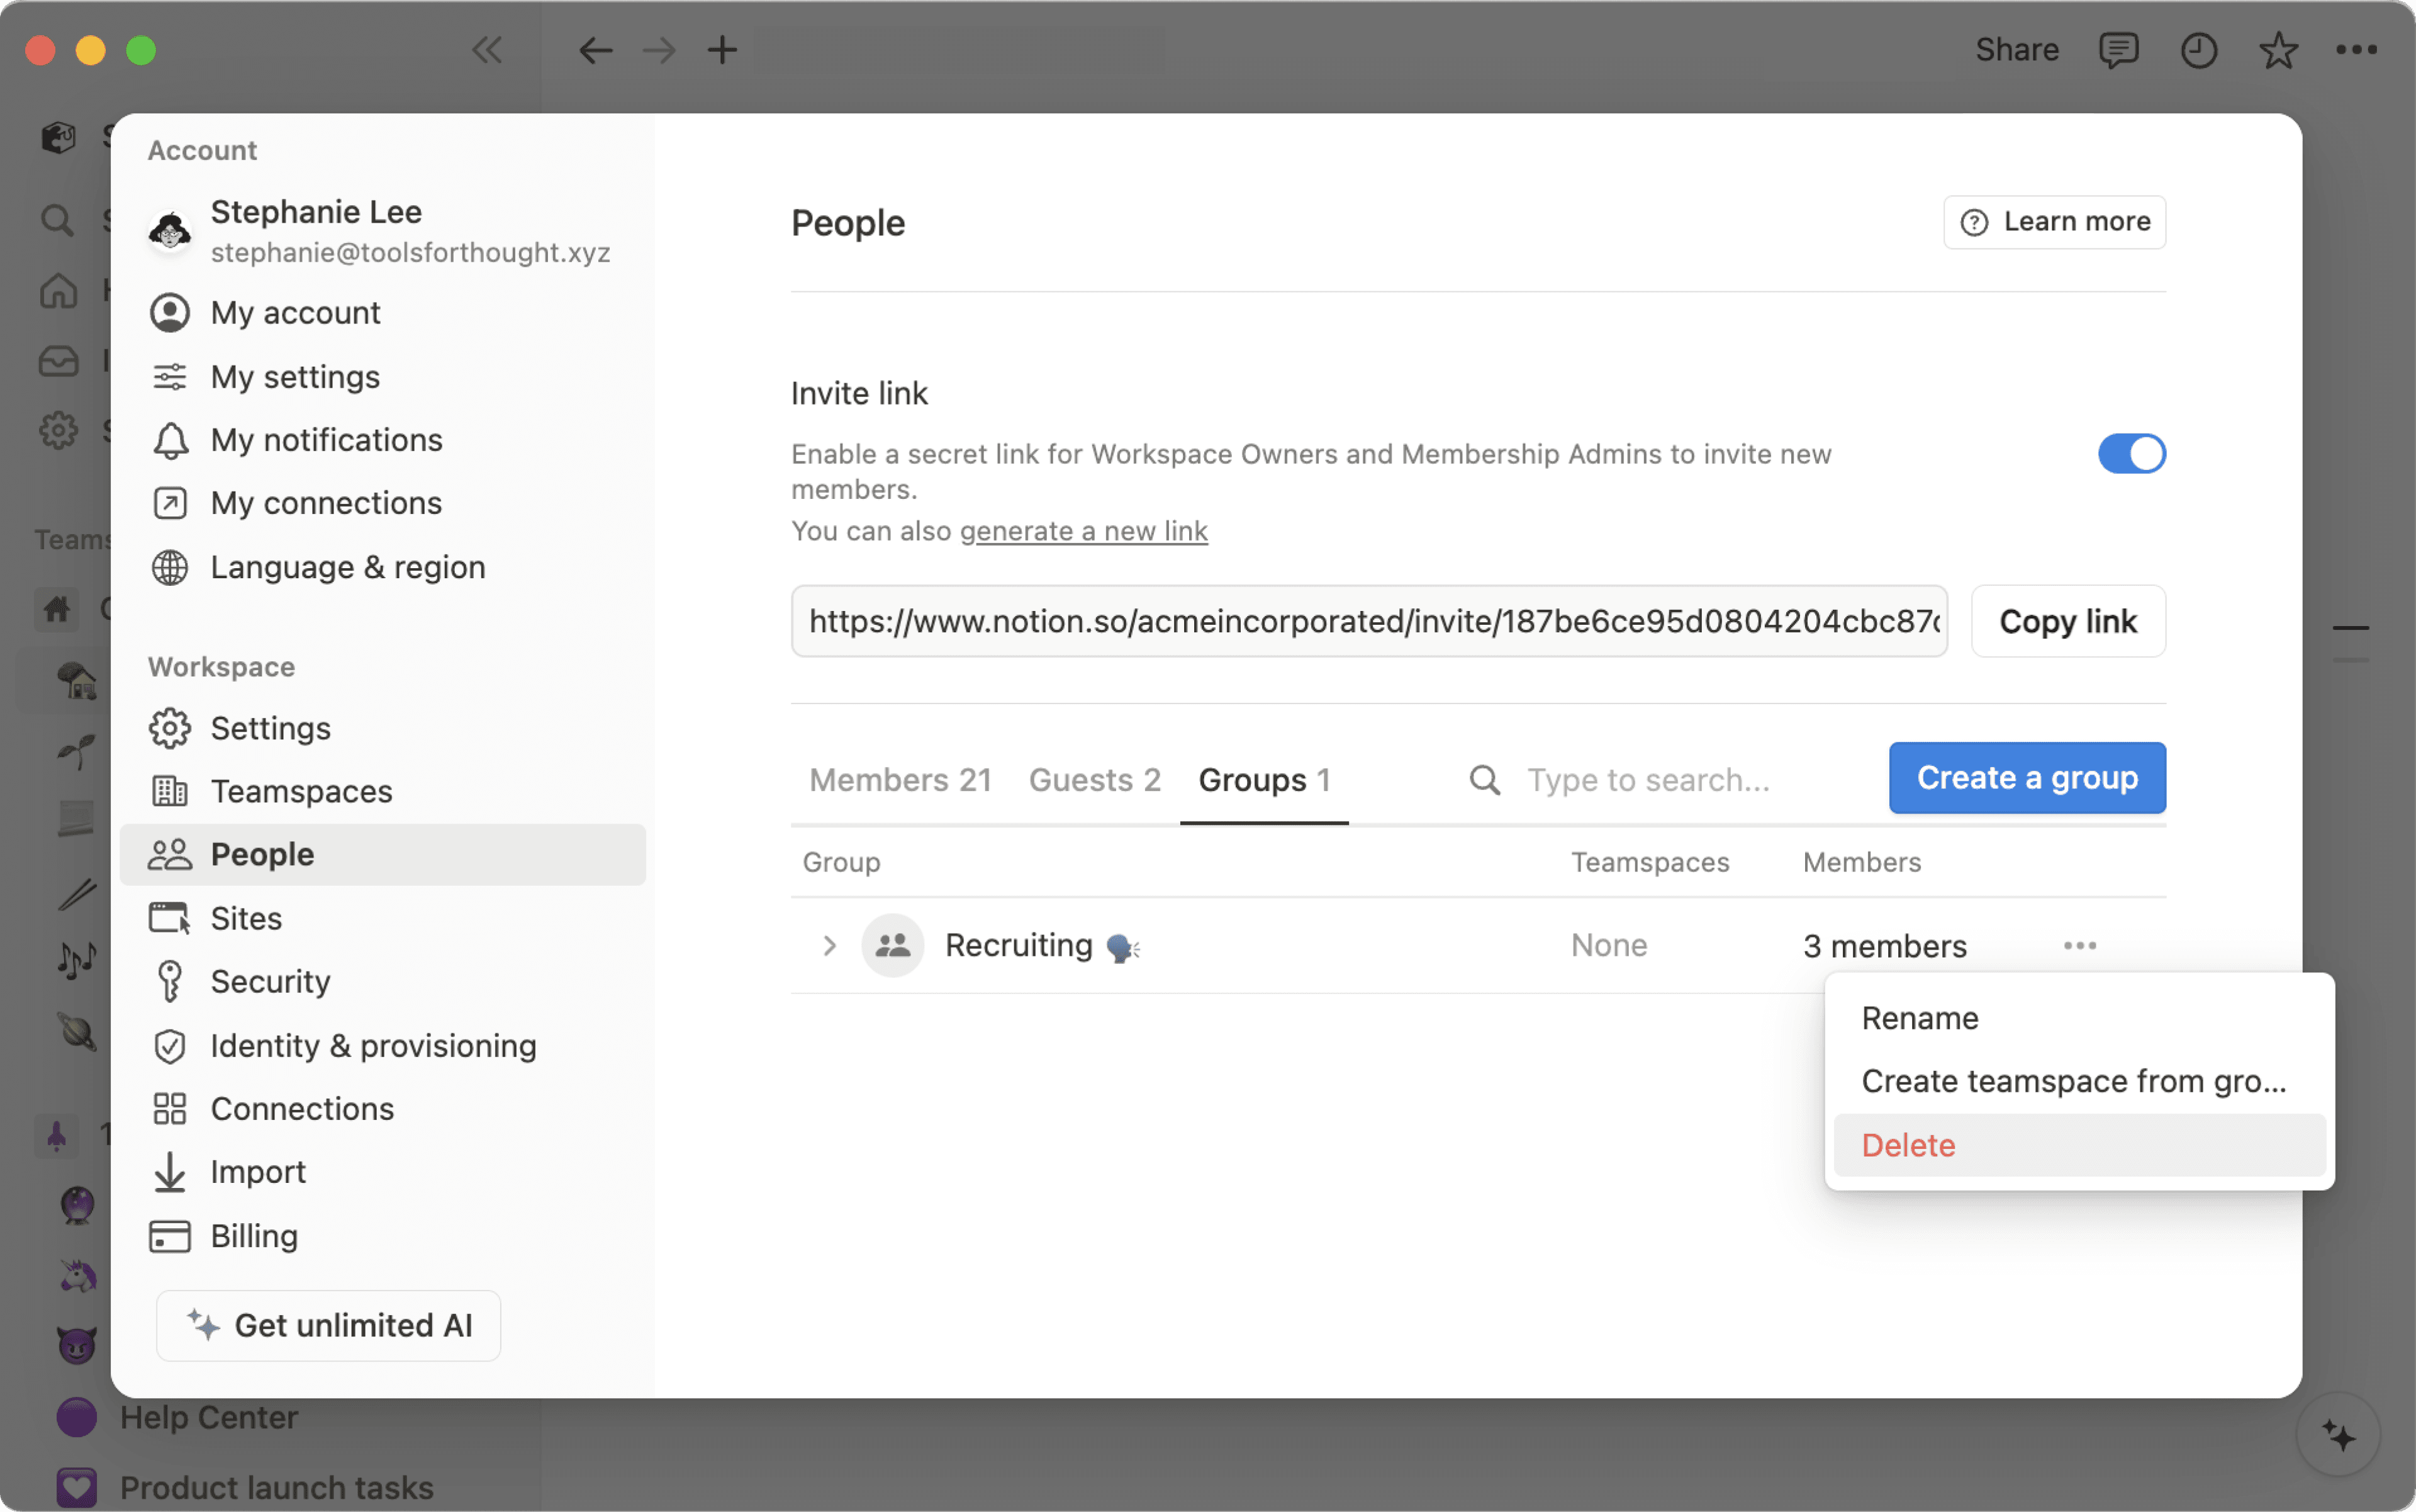
Settings→PeopleorMembers(depending on your plan) →Groups.Select
Create a groupand enter a name for your group. To set an icon for the group, just click the emoji icon that appears on hover.Toggle open your new group and select
Add members.Add as many members as you want to any group.
You can also click
Removeto the right of any group member.Select
•••next to a group toRenameit,Create teamspace from group, orDeleteit.You can always search someone's name or email to see which group they're in.
For any page, choose which groups can read, comment, edit, and share it. To share a page with a group:
Click
Share, thenInvite. You'll see all groups at the bottom of the pop-up.Pick a group, then choose what type of access you'd like to give that group from the dropdown:
Full access: They can edit and share the page.
Can edit: They can edit the page's content, but they can't share the page. (This is only available on paid plans.)
Can comment: They can only read and comment, not edit or share.
Can view: They can only read the content, and can't share it.
Remove: Revokes their access to the page.
Once a group has been added, you'll see it in the
Sharemenu, and you can adjust their access level in the drop-down.You can give multiple groups access at any level on the same page.
Permissions on any page also apply to all of their sub-pages.
Share a teamspace with groups
Teamspaces are a dedicated area for every team within your organization or company, and can be customized on an individual basis. Learn more about teamspaces →
To share a teamspace with groups in your workspace:
Hover over the name of the teamspace in your sidebar.
Click the
•••button, thenTeamspace settings.From here, you'll be able to search and add groups to the teamspace.
Câu hỏi thường gặp
Làm thế nào để sử dụng nhóm thay vì nhiều không gian làm việc riêng biệt?
Làm thế nào để sử dụng nhóm thay vì nhiều không gian làm việc riêng biệt?
Chúng tôi đã thấy mọi người tạo nhiều không gian làm việc thay vì nhóm để thiết lập quyền chi tiết. Ví dụ như, họ tạo ra các không gian làm việc riêng biệt cho Thiết kế, Tiếp thị và đội ngũ điều hành của họ, để các nhóm này không thể truy cập, chỉnh sửa hoặc bị phân tâm bởi công việc của nhau. Có một cách giải quyết nhanh chóng cho vấn đề này, thông qua sử dụng nhóm:
Tắt quyền
Truy cập không gian làm việc. Bằng cách đó, các trang sẽ không hiển thị cho những người và nhóm không được cấp quyền truy cập cụ thể.Trên mỗi trang, hãy cấp các cấp độ truy cập khác nhau cho mỗi nhóm. Các cấp độ truy cập đó sẽ áp dụng cho tất cả các trang con trên trang đó.
Nhờ đó mà bạn có thể dành riêng một phần trong không gian làm việc cho bộ phận kỹ thuật chẳng hạn. Tạo một nhóm gồm tất cả các kỹ sư của công ty, sau đó, trên trang cấp cao nhất cho nhóm đó, bật
Truy cập đầy đủcho riêng nhóm đó. Lồng các trang bên trong trang đó, và cũng chỉ nhóm kỹ thuật mới có thể truy cập những trang này giống như bạn!